Saturday, October 12, 2013

Creative Chemistry 2- Stamping Through Stencils

Another great technique by Tim Holtz in his Creative Chemistry 2 class - Stamping through stencils!

This was a fun tag (really they all are though!) and I first started by Distress Staining my background light green. I sponged through the stencils with Distress Ink and then stamped through the stencils.  Here's a little tip - make sure you mask around your stencil before stamping or you too will have to find some coordinating paper for the edge of your tag ;)


Easy Peasy, but looks very detailed.  Jennifer McGuire created a beautiful Christmas card as inspiration - I think those stencils will be on my wish list!

Creative Chemistry 2- Stencil Sketching

I am just blown away at the amazing amount of information so far in Tim Holtz's Creative Chemistry 2 online class. For the Stencil Sketching technique, I used markers to colour through stencils, over top of a Distress Stain background.


Over top I added some Distress Inks through stencils and around the edges, some stamping and even some Distress Paint stencilled hearts. It is so neat to see all the layers come together - I could totally keep going....but off to my next technique!

Challenges - Simon Says Wednesday Challenge - use rubber or cling stamps

Happy Stamping!

Friday, October 11, 2013

Creative Chemistry 2 - Embossing Through Stencils

In this cool technique by Tim Holtz in his Creative Chemistry 2 class at Online Card Classes, Tim shows how to create an embossed resist through a stencil.  I love it!

I inked through the stencil with Distress Ink, then embossed with clear embossing, then sponged over with Vintage Photo Distress Ink, which highlights the cracks.  Then I sponged all over with Distress Inks - what a neat effect and awesome background this creates!


For my card I used the stencil embossing technique as above and then used the snowman blueprint stamp, which I coloured in, and the snowflake blueprint stamp over top of the background. I misted with water to soften the snowflakes, before I coloured in my snowman. I Distress Stained my ribbon and tied it to the front of the card.


How cute is this guy?!

The stenciled embossing looks almost soft and fluffy :)
 

I'm entering this card over at Simon Says Wednesday Challenge blog, where the challenge this week is to use a rubber or clear stamp!

Happy Thanksgiving Weekend! (in Canada ;)

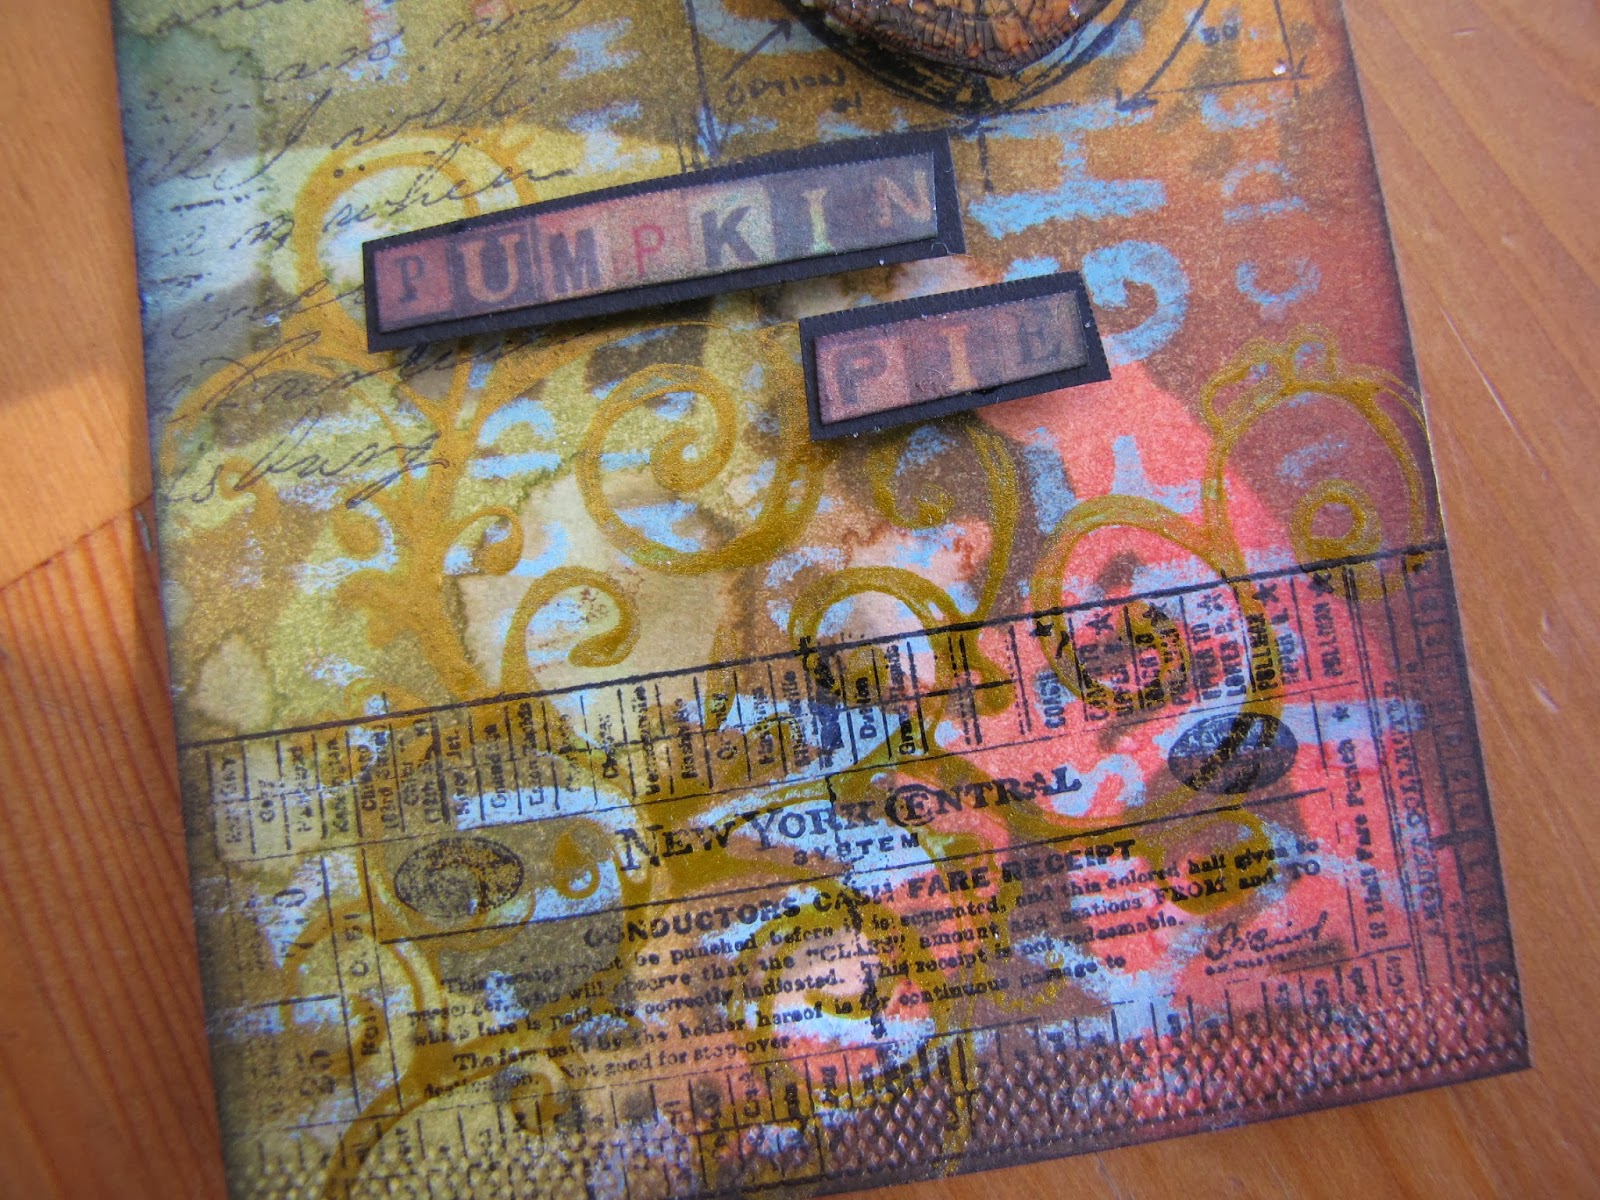
Creative Chemistry 2 - Mixed Media Stencil Technique

Oh my goodness! Tim Holtz is soooo creative and inspiring! Day 2 in his Creative Chemistry 2 class is all about stencils - which I love, but often am just not sure where to begin with.  However, this is totally my new favorite technique for sure.

This tag looks so detailed and intricate, but really you start with Distress Paints, layered through a stencil, which create a resist to your Inks applied after, and you just build your layers of Inks and water spritzing and even some mists through a stencil. The original layer was the small blue circles on the right side of the tag and the yellow arrows on the left side, both done with Distress Paints.


For my tags, I followed Shari Carroll's amazing technique video over at Simon Says Stamp, which shows this technique step by step! I just love these Tim Holtz blueprint stamps :)


I cut words out of the Tim Holtz Seasonal Paper Pack

I stamped with the Tarnished Brass Distress Ink and a scroll stamp

I also used masks to ink over and create more interest
 

I'm entering this tag at the Simon Says Wednesday Challenge blog - this week's challenge is to use rubber or clear stamps.

Supplies for acorn tag:
Ranger manila tag
Distress Paints, Inks, Stains
Archival Ink
Mini Acorn Blueprint Stamp
Scroll Stamp
Prima Script Stamp
Tim Holtz Stampers Anonymous Stamps
Tim Holtz Seasonal Paper
Tim Holtz Masks

Creative Chemistry 2- Industrial Paint Technique

I'm still not done all the amazing techniques Tim Holtz featured in Day 1 of his Creative Chemistry 2 class at Online Card Classes! I didn't quite have all the right supplies for this technique, but it was fun experimenting, and that's what it's all about, right!

For my tag I embossed a piece of gold foil cardstock and, not having black Distress Paint on hand, I improvised and rubbed on a few other colours of paint.  However, I didn't really get the results I was looking for so I used some black Crackle Paint.  I think I left it on a little too long so it didn't rub off as much as I was trying for, but it still has a cool effect.


For my card, I used the same gold foil cardstock and embossed with a Tim Holtz Sizzix embossing folder.  I then used the black Crackle Paint, mixed with water, over the image to highlight the grooves. I sponged Distress Ink on cardstock for a background and applied a Graphic 45 ruler stamp and a Tim Holtz sentiment stamp, which I clear embossed over to give a darker image.  I used Tim Holtz's Resist Paper Stash and an arrow stamp, which I embossed and cut out and popped up with foam dots and a chipboard circle I sponged with Distress Ink, stamped and clear heat embossed.


 Amie, who's 6, decided to make a card of her own and used a cute squirrel digi stamp along with an acorn and Happy Thanksgiving stamp, which she turned into a pumpkin - too cute! (It's Thanksgiving here in Canada this weekend!)

I'm entering my card over at Simon Says Wednesday Challenge blog, where the challenge this week is to use a clear or rubber stamp on your project!

Happy crafting,
xx

Thursday, October 10, 2013

Creative Chemistry 2 - Distress Paint Crackle

Here is another fun and addictive technique by Tim Holtz - Distress Paint Crackle, in his Creative Chemistry Class 2 at Online Card Classes.

For my tag I cut out leaves from the Art Philosophy Cricut cartridge and covered them with Distress Rock Candy Crackle.  After they dried I sponged on Distress Paints and then went over with some Distress Stain and Inks to highlight the crackles.  So cool!


For my card I used the same technique to cover all my chipboard pieces and then I punched a hole in the flower and heart to hang the jump rings and attach the heart, which hangs freely.

I layered chipboard pieces, paper flowers and a gem to complete the flower - I just love the look of the crackle!

I used the Tim Holtz ChitChat stickers, stained with Distress Stains to create a sentiment.

I used the Tim Holtz Resist Paper Stash, covered with Distress Stains, for the inside of my frame.  I coloured the butterfly with Tombow Markers and Rock Candy Glitter.

Hope you head over to Online Card Classes for more inspiration from Tim!

Wednesday, October 9, 2013

Creative Chemistry 2 - Paint Marbling

I am soooo excited to start Tim Holtz' class - Creative Chemistry 2 at Online Card Classes!  There were 6 techniques shared just for Day 1!

In the first technique video Tim showed how to marble Distress Paints.  It gives such a cool effect! Then, we were inspired by Shari Carroll, as a guest designer, featuring this marbling technique. I made a tag showing the technique and then 2 more tags using this technique.  So fun!

I applied the paints on my craft mat to create the marbling effect.

Then I sponged over the tag with Distress Inks to give it more depth.

Just love how this looks!

 Erica woke up from her nap and wanted to join in the crafting fun :)
 She is now edging with Distress Ink....

I made two tags inspired by Shari Carroll's tag. She is just so talented!
I cut petals off of a larger flower and trimmed them with zigzag edged scissors for leaves.


Thanks for stopping by! I'm off to create...

Supplies:
Distress Paints, Inks, Stains
Silver Tinsel embossing powder
Scroll Stamp, Script Stamp
Pearls, Stars, Brads
CTMH flowers
Tim Holtz ChitChat stickers
Seam Binding Ribbon