Flower Tag

1. Stamp Wild Rose stamp on tag.
2. Use Southern Ridge Trading Company Under The Sea Bubbles Stencil with Embossing Ink Dabber and emboss with Just Java Rock Candy Embossing Powder.
3. Use Distress Resist Spray to splat spots onto background of tag and emboss with Peppermint Rock Candy Embossing Powder.
4. Use Blue Distress Oxide Inks to sponge colour onto back of tag.
5. Use Ranger Matte Medium to glue Marshmallow Rock Candy Embossing Powder to center of flower (stamped a second time on patterned paper). Do not emboss.
6. Fussy cut second flower and glue to tag.
7. Apply Embossing Ink Dabber to metal brad and emboss with Peppermint Rock Candy Embossing Powder.

Emerald Creek Supplies:
Pam Bray Rock Candy Embossing Powders: Marshmallow, Java Plum, Peppermint
**Rock Candy is BRAND NEW and will first be available at local Alberta Retailers before it is on the Emerald Creek Website

Coffee Tag
This smells so good!!

1. Stamp Coffee Sign Board stamp with waterproof ink. (I used Gina K Amalgam Black)
2. Use Distress Oxide Inks (Mahogany and Spiced Marmalade) to ink tag. Colour in coffee cup if desired.
3. Use Vanilla Sugar Aroma embossing powder and Vicki Boutin circle stencil.
4. Use Canadian Maple Aroma embossing powder and Vicki Boutin coffee ring stencil.
5. Use Ground Espresso Distress Oxide Ink to sponge over edges and embossed areas. Wipe excess off with cloth.
6. Smell.... ummmm!

EC Supplies:

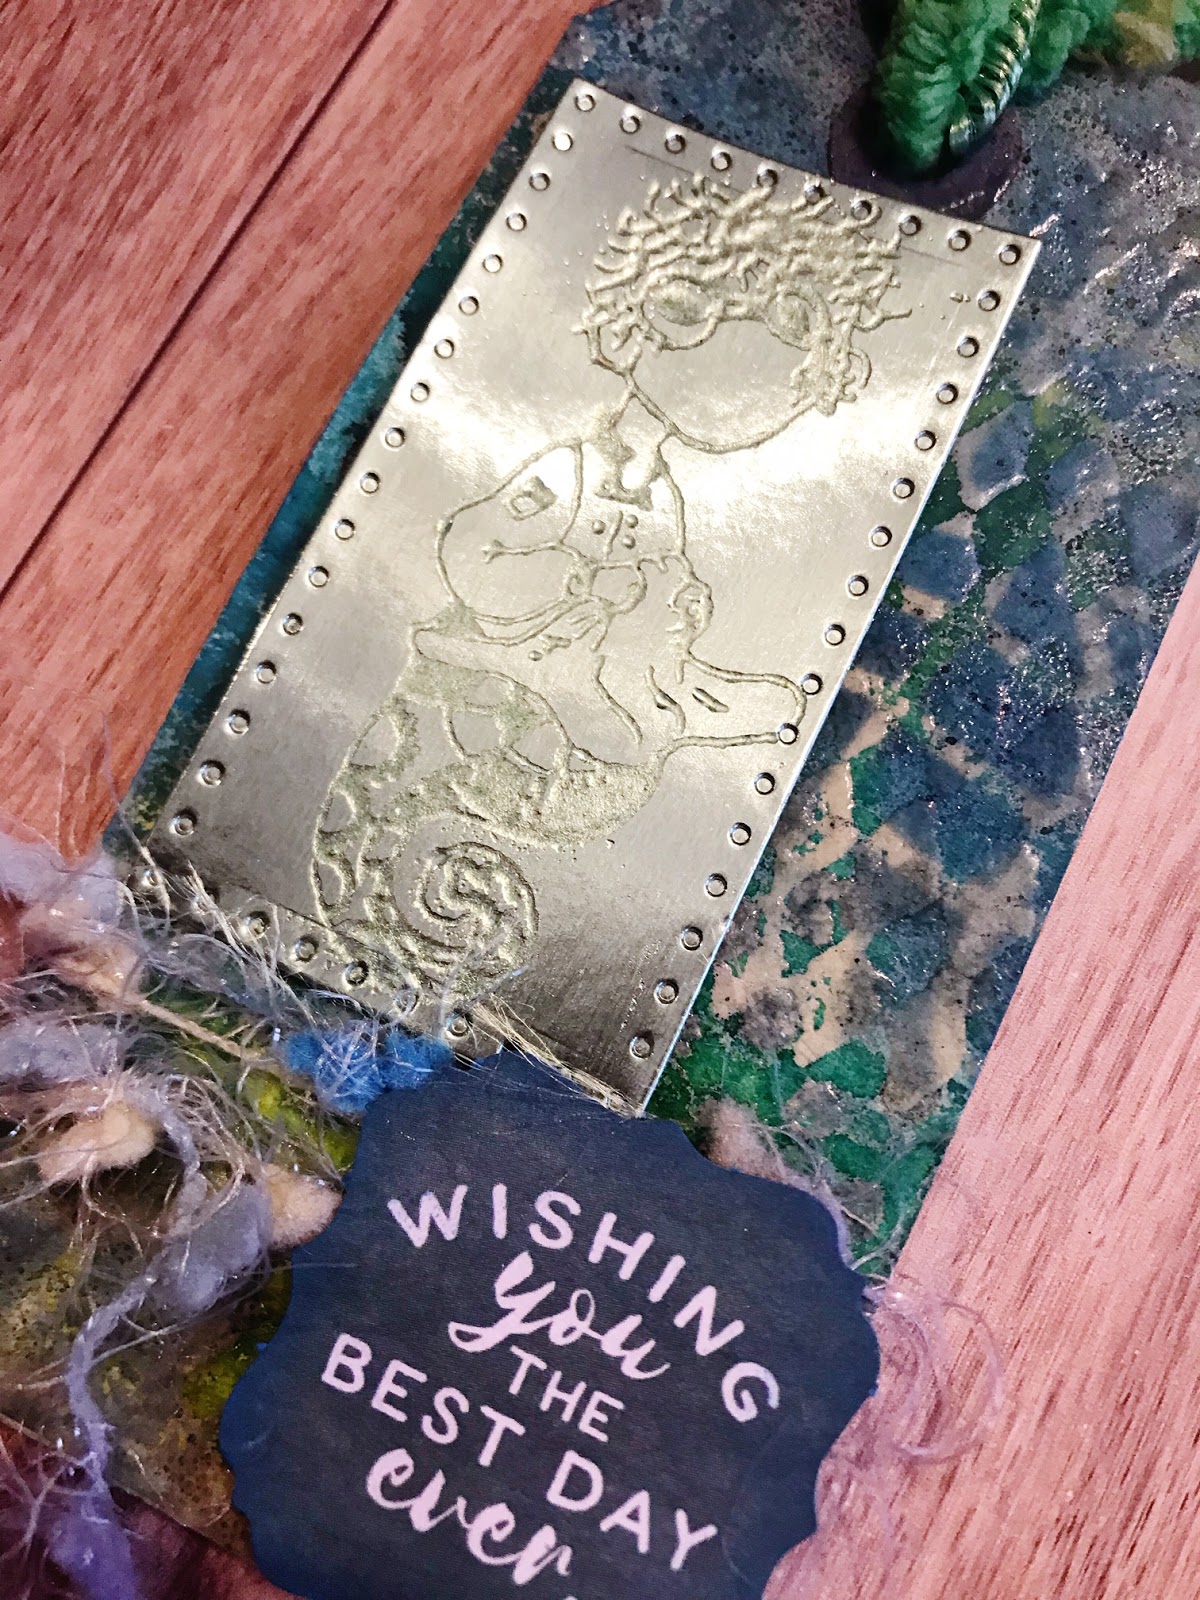
Under The Sea Tag

1. Use background circle stamp and Versamark Ink to emboss Baked Velvet Aegean Sea Embossing Powder in various spots around the tag.
2. Use background diamond stamp and Versamark Ink to emboss Baked Velvet Dusk Embossing Powder in various spots on tag.
3. Spray background with green and blue Dylusions ink sprays and blot with paper towel.
4. I used the SRTC Fish Net Stencil on the background with Mermaid Lagoon Distress Oxide Ink, but we skipped this step in the demo.
5. Rub Metallic Cardstock diecut with powder bag to reduce static. Use Mermaid Tears stamp and Baked Velvet Lime Embossing Powder on Metallic Cardstock to create an etched look.
6. Add yarn, embossed Mermaid Tears Steam Punk Sea image and a sentiment to tag.

Supplies:
Seth Apter Baked Velvet Mediterranean Kit Embossing Powder (Aegean Sea, Dusk & Lime)
Candy Cane Christmas Tag

1. Stamp woodgrain stamp on background.
2. Use sponges to add brown Distress Oxide Inks over stamped image.
3. Use Texture Paste and Tim Holtz Snowcap Stencil and add Marshmallow Rock Candy Embossing Powder. Heat with heat gun.
4. Glue on Metallic Cardstock oval.
5. Stamp Emerald Creek Candy Cane Stamp with Festive Berries Distress Oxide Ink on white cardstock. Use Gold Wink Of Stella brush to colour in bow.
6. Use foam tape to pop up candy cane image and tie red and white striped ribbon on top of tag.

EC Supplies:
Pam Bray Marshmallow Rock Candy Embossing Powder

Thanks so much for stopping by! If you haven't tried Emerald Creek Powders you just might want to see what you've been missing 😉 PS Be sure to stop back tomorrow where you can see another tag I'm making for the Emerald Creek October Dare!

Linked to
SSS Wednesday Challenge - AG
SSS Monday Challenge - Get Ready For Christmas