Monday, October 21, 2013

Aspen Beach

We had a gorgeous day here in Calgary, Alberta today! And, as anyone knows who lives here, you better enjoy those last few beautiful days before the snow flies! As a Nova Scotia girl who moved here in 2004 I'm still always surprised how quick fall is here.  The leaves have turned (we've already had a few snowflakes) and many trees are already bare from quite a few blustery days.

So, not wanting to forget about summer quite yet I found some summertime pics to scrapbook for the October Sketchy Challenge at Canadian Scrapbooker Magazine.

I love the look of the Polaroid picture frame, so this was a fun sketch to do. I even made a second page with coordinating colours to complete a two-page layout.

I sprayed some leftover packaging with pink and orange Dylusions Inks and then used a stencil and sponged on Distress Ink in Black Soot through the arrow stencils to create the banners in the background.  Of course, I had to add some Distress Inks in blue around the edges!
 I added some stencilled arrows along my journaling card and added in some chipboard arrows on my page.


I used some of the same misted cardstock packaging on my second page to tie it together along with some arrows and orange colour.
 
Thanks for stopping by!  Head over to the Canadian Scrapbooker sketchy challenge to check out all the amazing inspiration!

Supplies:
Cardstock - Core'dinations
Chipboard Stickers
Title - Art Philosophy Cricut Cartridge
Tim Holtz Chit Chat Stickers
Stencil - Crafters Workshop
Distress Inks
Dylusions Sprays
Journaling Cards - CTMH & Echo Park Happy Camper
Stickers - Imaginisce

Christmas Magic

Ok, I know Christmas is two months away - but I'm starting to feel that Christmas spirit :) It always feels like December goes sooo fast, so I want to be able to take time to enjoy making some fun Christmas cards before I feel too rushed!

I saw this great video by Gina K on Stamp TV here, which is where I got the inspiration for this card. I used the Cricut Art Philosophy cartridge to cut the ornament and both scalloped squares.  I popped the ornament up with foam dots after sanding the edges of the red cardstock to reveal some of the pink inside layer.  (I just love Core'dinations cardstock!)


Inside message 

I used black Memento Ink to stamp this cute little snowman from Sunshine Designs and then coloured him in with Prismacolor Markers.


I love how the soft greens and pinks look together!
 
Challenges:
Simon Says Wednesday Challenge - Make a holiday card
 
Supplies:
Patterned Paper - Brenda Watson Peppermint Twist
Red Cardstock - Core'dinations
Art Philosophy Cricut Cartridge
Snowman Stamp - Sunshine Designs
Sentiment Stamp - CTMH
Prismacolor Markers
Black Ink - Memento
Red Ink - Distress Ink
Crystal Embossing Powder
True Hemp Cord
Pink and Red Striped Ribbon
Stickles Glitter Glue

Saturday, October 12, 2013

Creative Chemistry 2- Stamping Through Stencils

Another great technique by Tim Holtz in his Creative Chemistry 2 class - Stamping through stencils!

This was a fun tag (really they all are though!) and I first started by Distress Staining my background light green. I sponged through the stencils with Distress Ink and then stamped through the stencils.  Here's a little tip - make sure you mask around your stencil before stamping or you too will have to find some coordinating paper for the edge of your tag ;)


Easy Peasy, but looks very detailed.  Jennifer McGuire created a beautiful Christmas card as inspiration - I think those stencils will be on my wish list!

Creative Chemistry 2- Stencil Sketching

I am just blown away at the amazing amount of information so far in Tim Holtz's Creative Chemistry 2 online class. For the Stencil Sketching technique, I used markers to colour through stencils, over top of a Distress Stain background.


Over top I added some Distress Inks through stencils and around the edges, some stamping and even some Distress Paint stencilled hearts. It is so neat to see all the layers come together - I could totally keep going....but off to my next technique!

Challenges - Simon Says Wednesday Challenge - use rubber or cling stamps

Happy Stamping!

Friday, October 11, 2013

Creative Chemistry 2 - Embossing Through Stencils

In this cool technique by Tim Holtz in his Creative Chemistry 2 class at Online Card Classes, Tim shows how to create an embossed resist through a stencil.  I love it!

I inked through the stencil with Distress Ink, then embossed with clear embossing, then sponged over with Vintage Photo Distress Ink, which highlights the cracks.  Then I sponged all over with Distress Inks - what a neat effect and awesome background this creates!


For my card I used the stencil embossing technique as above and then used the snowman blueprint stamp, which I coloured in, and the snowflake blueprint stamp over top of the background. I misted with water to soften the snowflakes, before I coloured in my snowman. I Distress Stained my ribbon and tied it to the front of the card.


How cute is this guy?!

The stenciled embossing looks almost soft and fluffy :)
 

I'm entering this card over at Simon Says Wednesday Challenge blog, where the challenge this week is to use a rubber or clear stamp!

Happy Thanksgiving Weekend! (in Canada ;)

Creative Chemistry 2 - Mixed Media Stencil Technique

Oh my goodness! Tim Holtz is soooo creative and inspiring! Day 2 in his Creative Chemistry 2 class is all about stencils - which I love, but often am just not sure where to begin with.  However, this is totally my new favorite technique for sure.

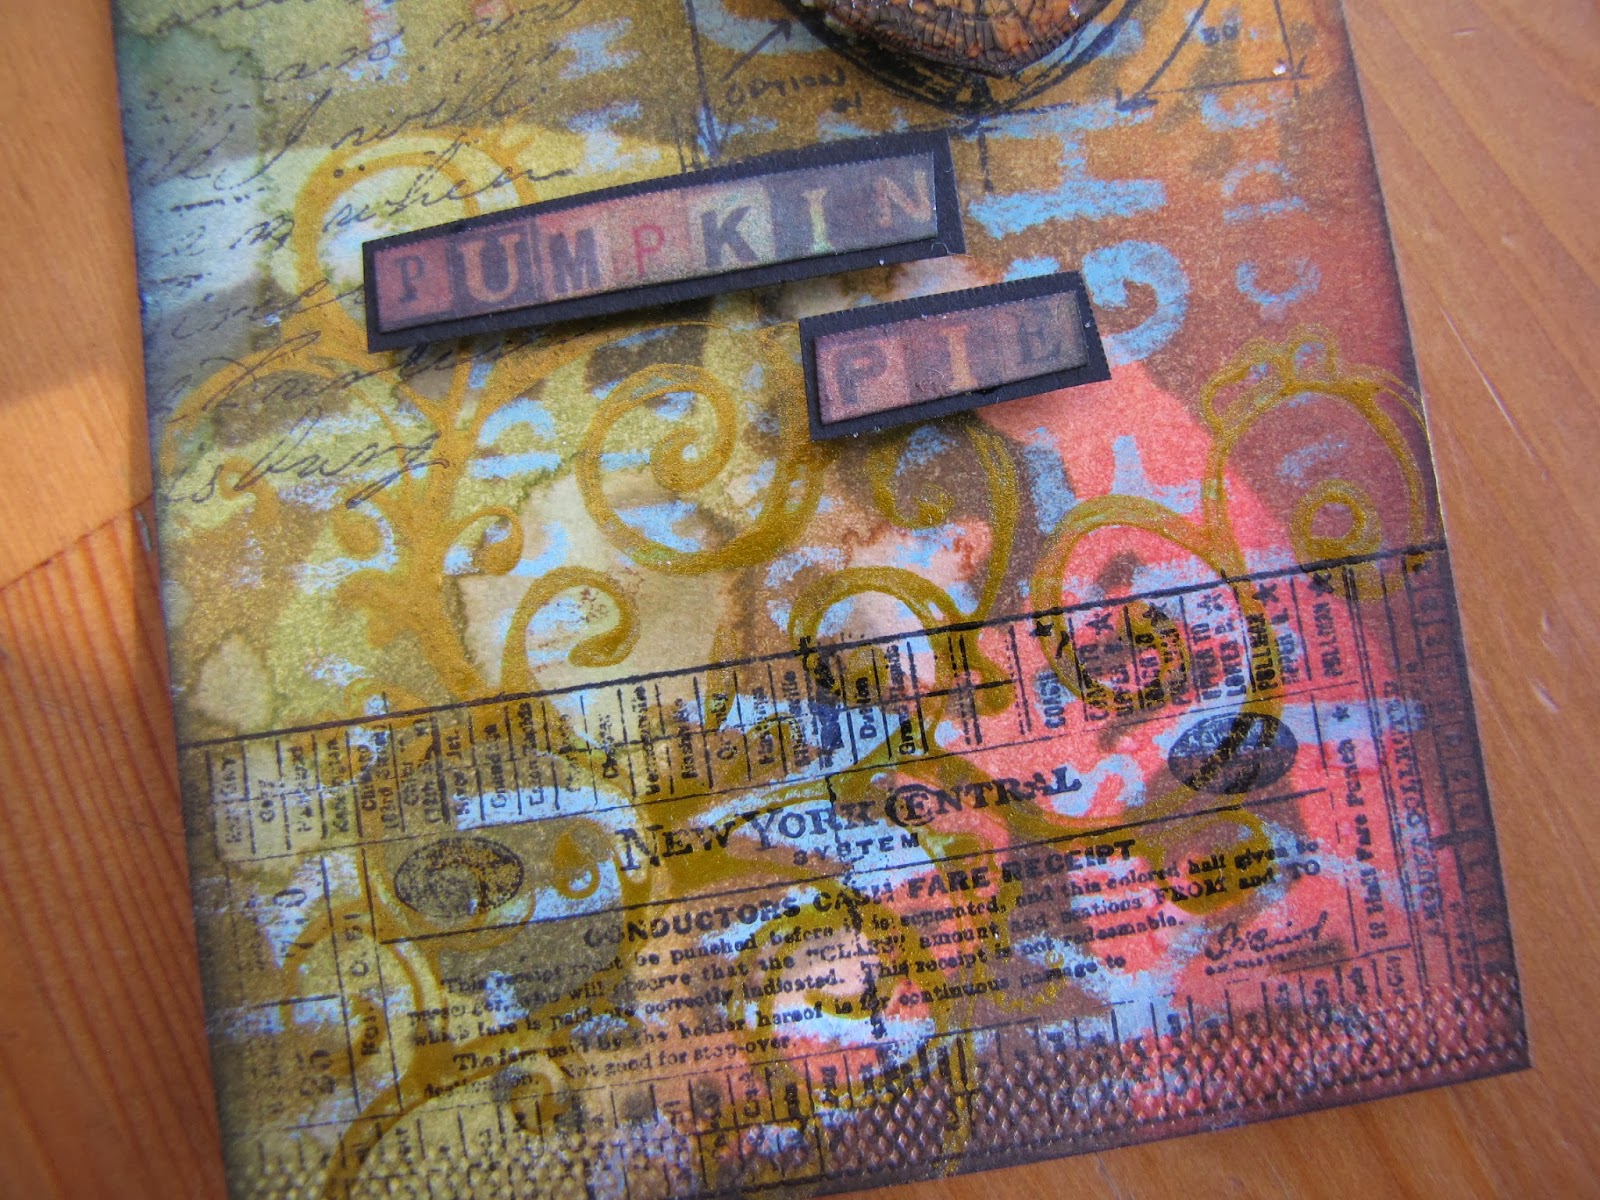
This tag looks so detailed and intricate, but really you start with Distress Paints, layered through a stencil, which create a resist to your Inks applied after, and you just build your layers of Inks and water spritzing and even some mists through a stencil. The original layer was the small blue circles on the right side of the tag and the yellow arrows on the left side, both done with Distress Paints.


For my tags, I followed Shari Carroll's amazing technique video over at Simon Says Stamp, which shows this technique step by step! I just love these Tim Holtz blueprint stamps :)


I cut words out of the Tim Holtz Seasonal Paper Pack

I stamped with the Tarnished Brass Distress Ink and a scroll stamp

I also used masks to ink over and create more interest
 

I'm entering this tag at the Simon Says Wednesday Challenge blog - this week's challenge is to use rubber or clear stamps.

Supplies for acorn tag:
Ranger manila tag
Distress Paints, Inks, Stains
Archival Ink
Mini Acorn Blueprint Stamp
Scroll Stamp
Prima Script Stamp
Tim Holtz Stampers Anonymous Stamps
Tim Holtz Seasonal Paper
Tim Holtz Masks

Creative Chemistry 2- Industrial Paint Technique

I'm still not done all the amazing techniques Tim Holtz featured in Day 1 of his Creative Chemistry 2 class at Online Card Classes! I didn't quite have all the right supplies for this technique, but it was fun experimenting, and that's what it's all about, right!

For my tag I embossed a piece of gold foil cardstock and, not having black Distress Paint on hand, I improvised and rubbed on a few other colours of paint.  However, I didn't really get the results I was looking for so I used some black Crackle Paint.  I think I left it on a little too long so it didn't rub off as much as I was trying for, but it still has a cool effect.


For my card, I used the same gold foil cardstock and embossed with a Tim Holtz Sizzix embossing folder.  I then used the black Crackle Paint, mixed with water, over the image to highlight the grooves. I sponged Distress Ink on cardstock for a background and applied a Graphic 45 ruler stamp and a Tim Holtz sentiment stamp, which I clear embossed over to give a darker image.  I used Tim Holtz's Resist Paper Stash and an arrow stamp, which I embossed and cut out and popped up with foam dots and a chipboard circle I sponged with Distress Ink, stamped and clear heat embossed.


 Amie, who's 6, decided to make a card of her own and used a cute squirrel digi stamp along with an acorn and Happy Thanksgiving stamp, which she turned into a pumpkin - too cute! (It's Thanksgiving here in Canada this weekend!)

I'm entering my card over at Simon Says Wednesday Challenge blog, where the challenge this week is to use a clear or rubber stamp on your project!

Happy crafting,
xx