Showing posts with label prismacolor. Show all posts

Saturday, June 11, 2016

Hello There - No Line Alcohol Ink Colouring!

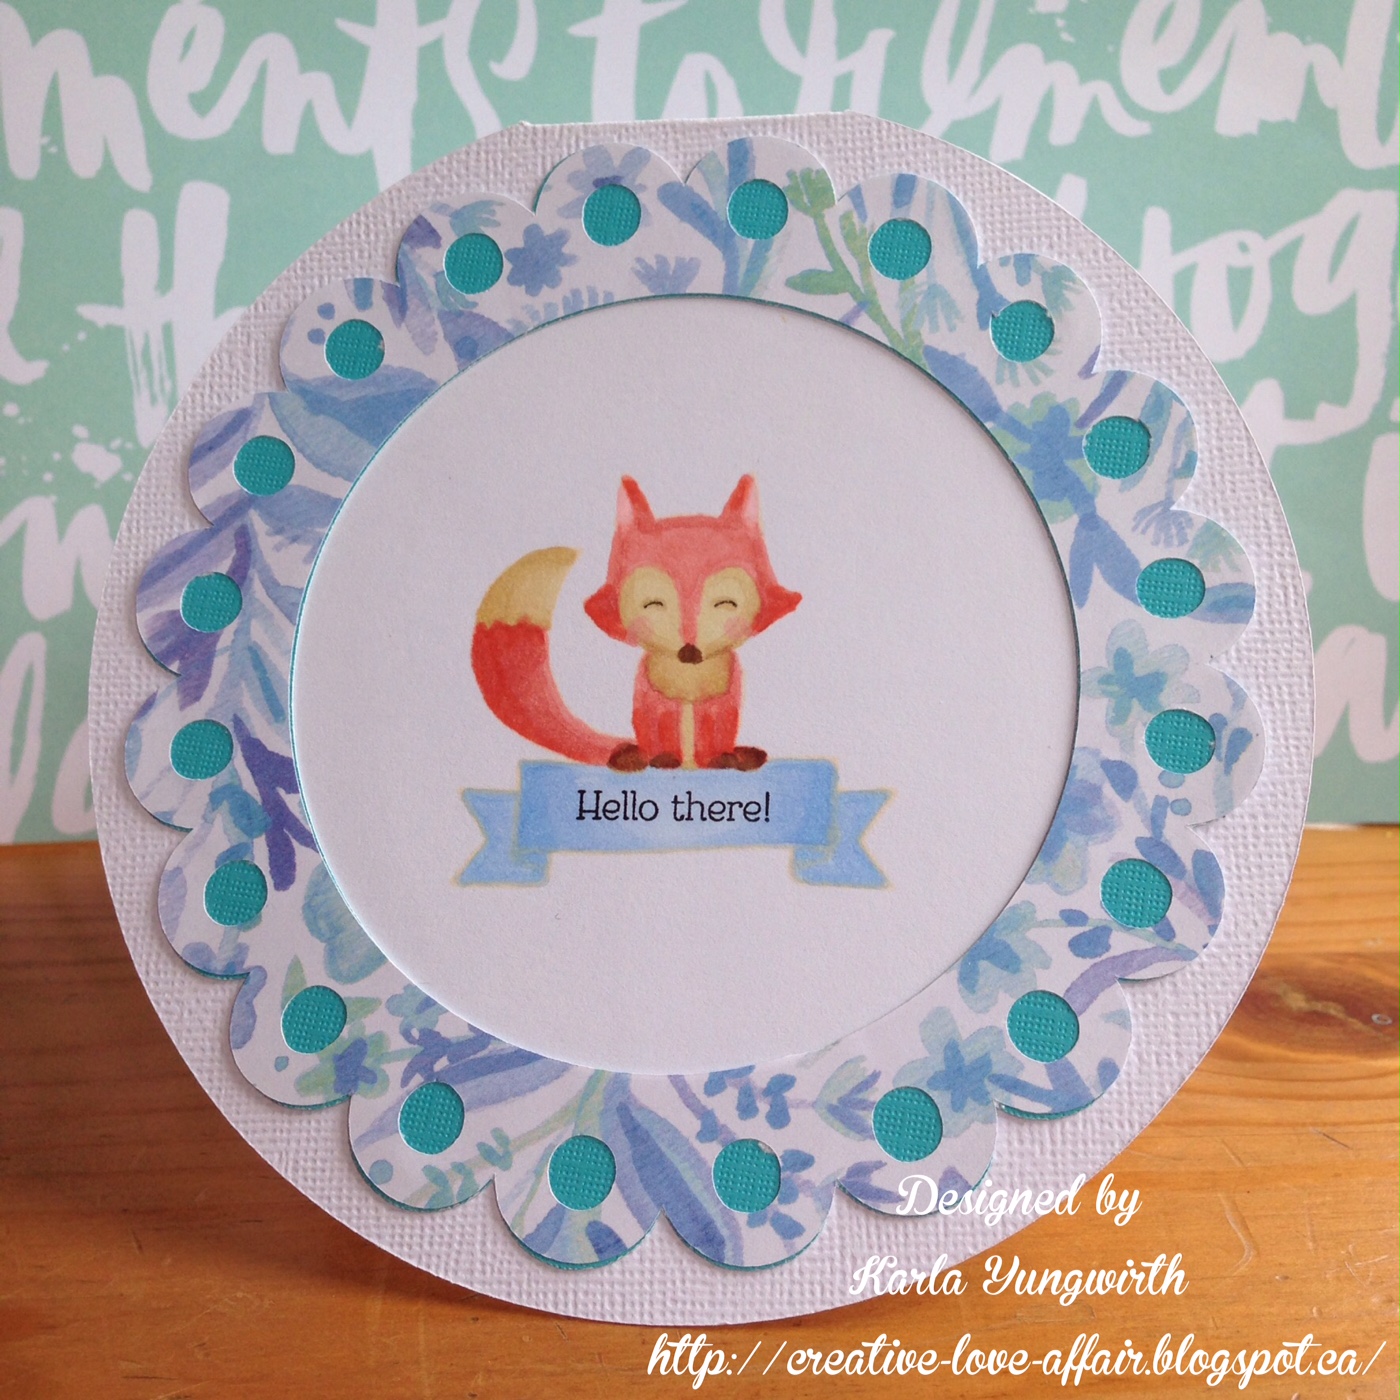
Hi there crafty friends! I'm back today to share this cute circle card I made for a friend who just had a baby boy. I used my Cricut Explore to weld a circle together to make the card base and then cut the scalloped frame using a blue floral MAMBI paper with a blue cardstock layer underneath.

I stamped this sweet little fox from CTMH with a cream coloured dye ink before trying a no-line alcohol ink colouring technique. I have to admit, when I first started colouring him it looked really awful! But that's the great thing about trying new things- if it doesn't work you can throw it away and you've probably figured a few things out along the way. After I added some shading he started to look more normal!

I used the writing feature in the Cricut Explore and added this pretty congrats inside the card.

I love how this turned out, and will definitely play around more with this technique!

Thanks so much for joining me today! I hope you're having a wonderful weekend.


Monday, February 1, 2016

FCCB #269 - Valentines Day!

 Happy Monday and welcome to another Monday challenge!


Challenge #269-Valentines Day
Make a project with a Valentines Day theme.

This Weeks Sponsor
DL.ART logo with web address photo Capture DL logo with web address._zpsfl4kkzhr.jpg

To qualify for the prize, be sure to use at least 1 Cricut cut on your project and if it's not obvious, let us know what cartridge you used. If you use a Cricut Explore machine, at least one cut must be from the Cricut catalog of images.

If it isn't a card, you will get two entries into the drawing!

For my project today I decided to combine this Valentines challenge with the new card sketch challenge for February over at the Scrapping Everyday Miracles blog and my Design Team post for the Pretty Cute Stamps blog!

Here's a look at the fun SEM sketch:

For my card I used my Cricut Explore to cut two heart borders from the Elegant Edges cartridge out of black and pink cardstock. I used the Love Struck 2010 cartridge to cut out the banner heart. I wanted to create an ombré effect on my heart banner and borders, so I layered on two pink Prismacolor Markers and the Colorless Blender pen. I love the extra depth this gives the diecuts!


In the background on my white cardstock I used the Be Mine stamp set from Pretty Cute Stamps. It has so many awesome sentiments and images that are not just for Valentines! I used Worn Lipstick Distress Ink to stamp a light background. I absolutely love the lips!! Since these are clear stamps I was able to easy bend the Always and Forever to fit my diecut banner. I simply placed it on my clear acrylic block in a semi circle and it stayed in place perfectly! The two tiny hearts are from the set as well.

Inside, I stamped a sentiment along with another kiss.

Here's a look at this lovely stamp set:
Be Mine 
Thanks so much can for joining me today! Be sure to head over to the Fantabulous Cricut blog to enter your own diecut project as well as visiting the Scrapping Everyday Miracles Blog and the Pretty  Cute Stamps blog. There is lots of Design Team Inspiration waiting for you! Have an awesome week!

Linked to:
Little Scrap Pieces - Show It Off Saturday 
Paper Play Sketches - AG with a sketch
DL Art - Thankful Thursday January Linky Challenge


Friday, August 5, 2011

Prismacolor Markers!

I noticed yesterday that Michaels had Prismacolor Art Markers on sale this week for 50% off (and they had a coupon for 20% off your entire purchase, including sale items) so I thought I'd go online to check out these markers.  Turns out they are an alcohol based marker, with two tips, and are blendable! I even found several videos on You-tube showing coloring techniques, one even mentioning they had used Copics with these markers. I have thus far resisted the Copic trend, only because I cannot justify spending $7 on one marker, and it seems to me you need quite a few to be able to blend properly.  So, coupon in hand, I decided to go and check out these markers.

I ended up getting a set of 24 for 1/2 price, which turned out to be $65, but then I used my 20% off coupon and that brought it down to $52.  Still a lot to pay for markers, but I thought I'd give it a try. And, not a bad price for regularly being $130 a set!  This brought it down to $2/marker, which I can live with.  I also bought 3 individual markers, a light tan, a colorless blender, and a grey. 


I was very happy with the selection of colors in the set. I think the only ones I'd pick up individually would be a lighter purple and a lighter pink, and maybe a lighter skin tone color.


I colored the girl on the left with a sand color for her skin and a peach color for the one of the right.  I used the thin nib as I felt I could control it better.  The colorless blender was great for a few spots I colored outside the lines and I also highlighted in a few areas.  I also added a few highlights with the Prismacolor white colored pencil.  I used the black Memento ink pad, as you would with the Copics.


All in all I am very happy with these markers and would recommend them for sure! I felt they were very easy to blend and even though I'm sure my technique could use improvement, I was satisfied with the results.