Wednesday, October 2, 2019

Simple Stories Happy Hauntings Treat Box Kit!

Hello friends! I sure have been enjoying making Halloween projects this fall, and I'm sure you're going to love seeing this adorable Simple Stories Halloween Treat Box Kit that is in the Scrap Shotz store! I just love the colours in this kit as well as the detailed instructions that I'll be sure to use for other holidays too. You can make 12 cute bags and boxes, with instructions for 5 different types of boxes and bags!


Here's a look at the Video where you can see these cute boxes and bags closeup!


Thanks so much for stopping by! Be sure to head over to the Scrap Shotz  Blog to see closeups and details, and have a very crafty week!


Tuesday, October 1, 2019

13 Days Of Halloween - Day 5 - Cute Ghouls Layout!

Hi, and welcome to Day 5 of the 13 Days Of Halloween! Every Tuesday and Thursday leading up to Halloween you can find me on my YouTube channel sharing a spooky project - and today I'm putting together a ghoulish scrapbook layout of my two littles, when they were very little!


I'm so proud of myself for pulling out an unfinished project that had been waiting patiently in my Halloween Stash Box! I grabbed older products and papers from a few different lines, added Distress Oxide Inks and started layering.


Some sequins from Brutus Munroe and Wild Whisper (designed by SpiegelMom Scraps) added some shiny bling to the page, and some fun Tim Holtz Chit Chat stickers add some seasonal words. (PS Save 10% off at the Wild Whisper shop with the code DTKARLA and save 15% off at the SpiegelMom Scraps Shop with the code KARLA15) 


This layout is a simple design that you could use to put any scrapbook page together quickly!


You can see the video of this cute layout here! Be sure to subscribe and hit that notification bell so you don't miss anything!


Have you started any Halloween crafty projects?! Thanks so much for stopping by. I hope you have a wonderful week ahead!


Linked to:
SSS Wednesday Challenge - AG

Monday, September 30, 2019

Emerald Creek Demo Tags!

Hello! I hope you're all enjoying Fall weather - here in Alberta we had a crazy snow storm over the weekend with 30 cm of snow (that's a foot!) in Calgary. So, I for one stayed in warm and cozy prepping for a fun demo at the Scrapendity Scrapbook Store using Emerald Creek Craft Supply products today. Everyone had fun playing with some fun powders and making some neat tags, so I thought I'd share what we did today, and I've included the basic instructions for each tag!

Flower Tag

1. Stamp Wild Rose stamp on tag.
2. Use Southern Ridge Trading Company Under The Sea Bubbles Stencil with Embossing Ink Dabber and emboss with Just Java Rock Candy Embossing Powder.
3. Use Distress Resist Spray to splat spots onto background of tag and emboss with Peppermint Rock Candy Embossing Powder.
4. Use Blue Distress Oxide Inks to sponge colour onto back of tag.
5. Use Ranger Matte Medium to glue Marshmallow Rock Candy Embossing Powder to center of flower (stamped a second time on patterned paper). Do not emboss.
6. Fussy cut second flower and glue to tag.
7. Apply Embossing Ink Dabber to metal brad and emboss with Peppermint Rock Candy Embossing Powder.


Emerald Creek Supplies: 
Pam Bray Rock Candy Embossing Powders: Marshmallow, Java Plum, Peppermint
**Rock Candy is BRAND NEW and will first be available at local Alberta Retailers before it is on the Emerald Creek Website


Coffee Tag 
This smells so good!!

1. Stamp Coffee Sign Board stamp with waterproof ink. (I used Gina K Amalgam Black)
2. Use Distress Oxide Inks (Mahogany and Spiced Marmalade) to ink tag. Colour in coffee cup if desired.
3. Use Vanilla Sugar Aroma embossing powder and Vicki Boutin circle stencil.
4. Use Canadian Maple Aroma embossing powder and Vicki Boutin coffee ring stencil.
5. Use Ground Espresso Distress Oxide Ink to sponge over edges and embossed areas. Wipe excess off with cloth.
6. Smell.... ummmm!


EC Supplies:


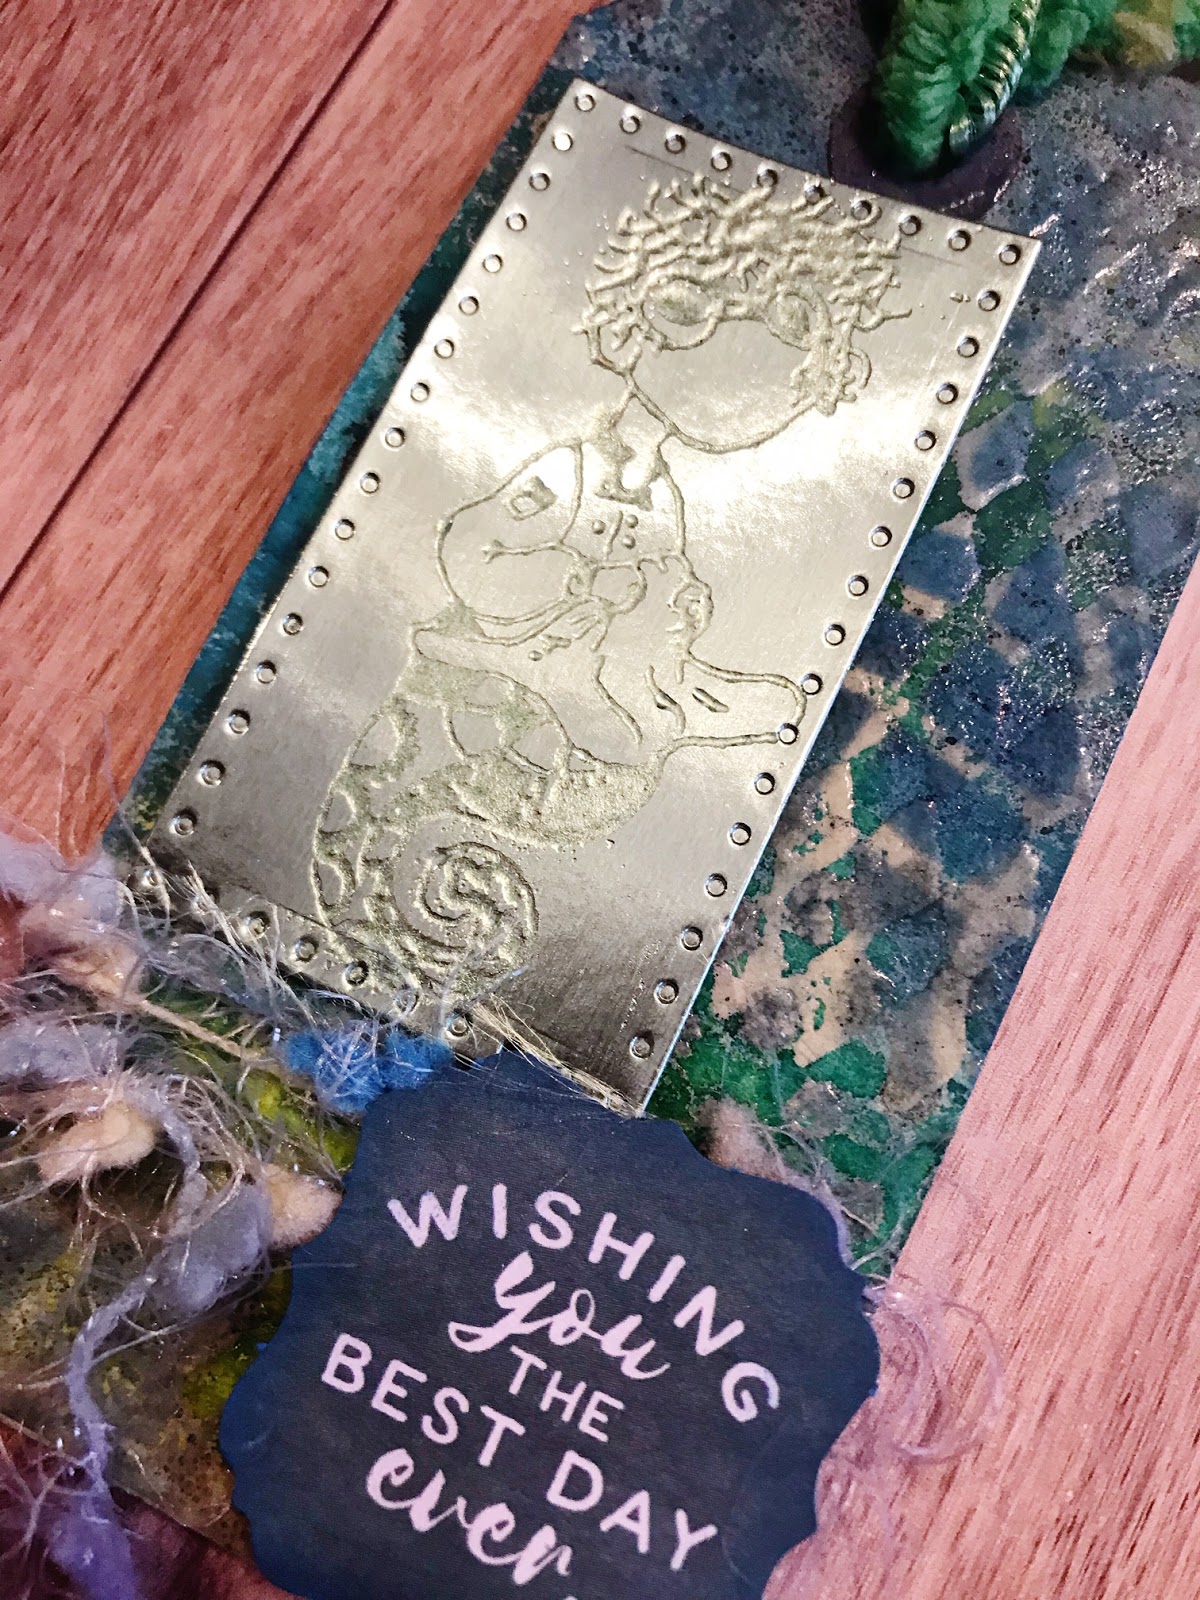
 Under The Sea Tag

1. Use background circle stamp and Versamark Ink to emboss Baked Velvet Aegean Sea Embossing Powder in various spots around the tag.
2. Use background diamond stamp and Versamark Ink to emboss Baked Velvet Dusk Embossing Powder in various spots on tag.
3. Spray background with green and blue Dylusions ink sprays and blot with paper towel.
4. I used the SRTC Fish Net Stencil on the background with Mermaid Lagoon Distress Oxide Ink, but we skipped this step in the demo.
5. Rub Metallic Cardstock diecut with powder bag to reduce static. Use Mermaid Tears stamp and Baked Velvet Lime Embossing Powder on Metallic Cardstock to create an etched look.
6. Add yarn, embossed Mermaid Tears Steam Punk Sea image and a sentiment to tag.


Supplies:
Seth Apter Baked Velvet Mediterranean Kit Embossing Powder (Aegean Sea, Dusk & Lime)
Mermaid Tears Steam Punk Sea Stamps (Mikas & Adaline)


Candy Cane Christmas Tag


1. Stamp woodgrain stamp on background.
2. Use sponges to add brown Distress Oxide Inks over stamped image.
3. Use Texture Paste and Tim Holtz Snowcap Stencil and add Marshmallow Rock Candy Embossing Powder. Heat with heat gun.
4. Glue on Metallic Cardstock oval.
5. Stamp Emerald Creek Candy Cane Stamp with Festive Berries Distress Oxide Ink on white cardstock. Use Gold Wink Of Stella brush to colour in bow.
6. Use foam tape to pop up candy cane image and tie red and white striped ribbon on top of tag.


EC Supplies:
Pam Bray Marshmallow Rock Candy Embossing Powder


Thanks so much for stopping by! If you haven't tried Emerald Creek Powders you just might want to see what you've been missing 😉 PS Be sure to stop back tomorrow where you can see another tag I'm making for the Emerald Creek October Dare! 


Linked to
SSS Wednesday Challenge - AG
SSS Monday Challenge - Get Ready For Christmas

Thursday, September 26, 2019

13 Days Of Halloween - Day 4 Diecut Treat Bags!

Hello! Well, I'm super excited about this new Halloween Series!! Every Tuesday and Thursday leading up to Halloween I'm sharing a project on my YouTube Channel. I'm on Day 4, and today I'm sharing 3 cute Halloween Treat Bags cut with my Cricut Maker.


Here are a few closeups. I added some white gel pen detail to give these guys a little 'life' 😉


Some Perfect Pearls Mist painted on adds just the right amount of rosy cheek blush.


And, I bit of black and white ribbon finish them off.


Here's the video where you can see exactly how I put together these cute bags! Be sure to like, subscribe and hit that notification bell in YouTube so you don't miss a thing 👻


Thanks so much for stopping by! Hope you have a super crafty week!!


Wednesday, September 25, 2019

Scrap Shotz Creative Team Blog Hop!

Welcome to our Creative Team Blog Hop! 


We are so thrilled to have you join us as we celebrate Scrap Shotz’s brand new look. 

Not only do we have a new logo, we also have a new website. If you haven’t yet shopped the new site you can head over by clicking HERE.

Today the team is sharing projects inspired by the brand new Scrap Shotz logo:


Prizes-

To celebrate our new look, Scrap Shotz is giving away a $25 gift certificate to 1 lucky winner! Please leave a comment on any of the blogs by October 2, 2019. 

Every comment you make will earn you an entry so comment on all 6 blogs for a 6 chances to win!

Blog Hop-

Hop along to the Creative Team blogs to see how everyone was inspired by the new look.

If you want to start at the beginning, head over to Carolyn's Blog. Below is a complete list of the Scrap Shotz Creative team and the Hop Lineup:


I absolutely love the soft blue watercolour look with the gold in the logo, so that I what I was drawn to when I created three Christmas cards and two tags using the new Stamping Village Holiday Seals stamp set. I had so much fun mixing and matching papers and elements from my stash to coordinate with this look! I used Copic Markers to colour in all these sweet images - there are 12 seals in all to choose from and they are all so awesome! You can use them on envelopes, to coordinate with other images with each company they are designed by, cut out as smaller elements, or as tags and cards like I did... 


For this first card I used paper from the Simple Stories Heart 6x8 Paper Pad on my background and to create a faux polaroid frame. Then, I backed the frame with the pretty boca paper from the Lawn Fawn Snow Day Remix collection. 


All 12 companies came together to create this gorgeous stamp set. This image is by Avery Elle, and is so adorable. I added some white gel pen highlights and some silver gel pen to the string of lights. I used a Versamark Pen to trace around the outside of the image and added Emerald Creek Mirror Gold Embossing Powder.


For this next card I used a yellow toned woodgrain paper from my stash and a Waffleflower stitched diecut as the base. The stitched circle dies used in various sizes on these projects are from Kaisercraft, and a scalloped Your Next Stamp die features the pretty image by Pink Fresh Studio. 


I added Glossy Accents to the cute little bird and some white gel pen highlights to the leaves. I had some foliage diecuts in my stash, so I pulled them out to use with Tim Holtz Metallic Cardstock and Lawn Fawn Glitter Paper. A few coordinating pearls from Buttons Galore and More finish it off.


The 3rd card uses papers from the Lawn Fawn Snow Day Remix collection again. I especially love the music paper! I coloured in the whole circle from this stamp designed by Studio Katia in various blues, yellow and greens.


I added some Glossy Accents on the berries and a Studio Katia Gold Sparkle Crystal to the center of the flower.


For the tags I used a white cardstock tag with a Your Next Stamp stitched tag die and layered on my elements.


This little Lawn Fawn design is soooo cute! I stamped the Merry Christmas with Gold Embossing Powder from the Lawn Fawn Winter Wavy Sayings set. I didn't happen to have the matching banner die, so I handcut around the sentiment and used a gold pen to line the edges. A small hole punch allowed me to turn this sentiment strip into a little tag too!


This beautiful design by Altenew was very simple to colour with some green Copics. I added some white gel pen highlights and the Studio Katia Gold Sparkle Crystals for bling. I layered it on top of the diecut tag which I watercoloured with Distress Oxides. A few Pretty Pink Posh sequins finish this last tag off!


Thanks so much for 'Hopping' by 😉 I hope you've gotten lots of inspiration to create something beautiful yourself! You can head over to the Brande's blog next, and don't forget to leave a comment for a chance to win! Have a fantastic and very crafty week my friends. 

Linked to:
SSS Monday Challenge - Stitch It (faux diecut stitching)


Tuesday, September 24, 2019

13 Days Of Halloween - Day 3 - Cute Ghost Card!

Hello! Well, it's Day 3 of the 13 Days Of Halloween Series over on YouTube. Today, I'm sharing this super cute puppy card using Gerda Steiner Designs Dog Dressed As Ghost digital stamp along with some fun colouring techniques and even a little mixed media fun!


Here's a look at the video where you can see exactly how I put this cute card together. Be sure to follow me on YouTube and hit that notification bell 🔔 so you don't miss any videos in the series!


Thanks so much for stopping by! You can see closeups and details of this spooky Halloween card on the Gerda Steiner Designs Blog, and you might even want to check out the GSD Shop  for even more crafty inspiration! Hope you have an amazing week friends. 👻


Monday, September 23, 2019

13 Days Of Halloween - Day 2 - Wild Whisper Halloween Layout!

Hello hello! Well, it was a wildly busy weekend, so I'm just finally getting Day 2 of the 13 Days Of Halloween posted... Every year the Creative Scrapbooker Magazine crew hosts a fantastic Scrapbook Carnival for 2 days full of fun, which just happened to be this past Friday and Saturday. People come to crop and shop. I had so much fun helping out the Scrap Shotz booth, doing several make 'n takes & demos, and even doing a demo in the Wild Whisper booth! I even got to chat with Karen from Southern Ridge Trading Company, whose Design Team I'm also on. She is so sweet and it was so great to get a bit of time to actually talk face to face. I'm so blessed to be able to work with so many amazing local companies. Kim Evans from Emerald Creek Craft Supplies was also there and I got to see her in action demoing her new Rock Candy Embossing Powders! All in all it was super busy, but awesome, and so rewarding being able to teach people some new things, meet up again with old friends, and make new friends. So, I'm just catching up and getting a few things posted now! This year I'm doing a Halloween Series - The 13 Days Of Halloween on YouTube and you can find me there every Tuesday and Thursday leading up to Halloween with a fun spooky project! Of course I'll be sharing here too, but if you want to see all the action on the day it's up, be sure to check it out there first. For Day 2 I decided to create a layout using the brand new Halloween Night collection and Wispy Wool Embossing Powder from Wild Whisper and a photo of my three beautifully scary girls from last Halloween 👻 They are already trying to decide what costumes to pick out for this year!


Here's a look at the video where you can see how I put this creepy layout together using the SCT365 2019 Layout Sketch for September!


Thanks so much for stopping by! You can find closeups of this layout on the Wild Whisper Designs Blog - and don't forget to use the code DTKARLA to save 10% on your purchases at the Wild Whisper Shop!! Be sure to follow me on YouTube and hit that notification bell so you don’t miss any of the 13 Days Of Halloween projects! 🎃 Have a fantastic week my friends!