Hello! I'm back today to share a sweet little no fuss diecut cactus and DIY plant pot. I really do love having plants in my house, but... and not for lack of trying... they never survive 😢 It is really safer for all those sweet plants out there if I stick to the faux variety, lol. So, I decided to craft a cute cactus from a Cricut cut using my Cricut Explore. Of course, this little guy needed a lovely home, so I repurposed a clay pot I had laying around my house with theTattered Angels Naturally Aged Paint System Bare Metal Weathered Bronze. This is a super cool set of 4 paints/mists that combine to create a bronzed metal look. When combined with the clay pot it looks so awesome!
I used the Cricut Cartridge Cactus Love to cut this sweet 3D plant. It is really easy to put together. I added a Prima Flower and a little cork butterfly with some gems and sequins from Buttons Galore. I happened to have a styrofoam cone in my stash and cut it down to fit inside the pot. Instead of leaving it white I added some Tattered Angels Kraft High Impact Paint and then covered it with Emerald Creek's Baked Texture Dirty Sand Embossing Powder by Seth Apter. I love when I can use a product for more than its intended purpose, and this Dirty Sand Powder looks amazingly like sand when it's dry! I just sprinkled it on and glued it down with some tacky glue before adding my cactus.
I've been experimenting with cutting vinyl with my Cricut more - I know, that's not anything new, but for some reason I thought it was harder than it was! I'm really loving it and thought this free hugs was super cute! It's from the Humming In My Garden cartridge.
You can see how everything came together in the full process video HERE or click below:
Thanks so much for stopping by! You can find this project and see what other Crew Members came up with for this fun spring pot challenge over on the Creative Studio Blog. You may just want to create something crafty using some fun pots around your own home!
Hello friends! Well, it's my last Design Team post over on the Emerald Creek Dares Blog - I've had an amazing year with them, and of course I'll be continuing to use their amazing products and work with them here and there. I'm really excited to see what the new DT comes up with! And, I'm super excited to be one of the first people to try out some of the amazing new products that will soon be released! This month it's all about what's new, and here's what I've had fun playing with this week - Seth Apter is releasing more amazing powders and Gwen Lafleur has also come up with some gorgeous products - powder and gemstones, all produced by Emerald Creek Craft Supplies!
Here's the video where I give you a close up look at what I'm playing with today!
And, of course, I couldn't stop playing, so this is what I created with these new goodies - a lovely 6x6 canvas!
Here you can see the video where I show you how I put this pretty canvas together-
Thanks so much for stopping by! Be sure to head over to the Emerald Creek Dares Blog to see closeups and check out this month's challenge details. There is an amazing prize to win!! Have an awesome weekend friends.
Today I'm using the awesome Wrap Journal die to create a Halloween Junk Journal, and I'm loving how this turned out!! I've included lots of photos so you can see all the details, but be sure to scroll down to see the video link where you can get a complete walk through and the blog hop line up below! I've also included a list of the supplies below as well.
I had a lot of fun layering paints, stencils, powders and stamps to create a spooky background. The Seth Apter paints were wonderful to work with and mixed beautifully to create even more colours than the four I worked with in the Autumn Set.
The Hammered Metal embossing powder created such a cool effect inside the EC skull stamp!
I added lots of fun elements along the spine of the journal.
Here's a look at the book opened up. I plan to fill this junk journal with lots of spooky Halloween ephemera!
I created a little tag pocket on the left and decided to tuck the right flap under the cover, but you can also choose to layer it over the top. The Magical Mysteries Dragon's Egg powder added a beautiful purple - complimenting Seth Apter's paints!
I created four 'signatures' which are the little booklets that fit into the Wrap Journal. I cut a cover from Tim Holtz cardstock and then three more pieces of paper from a 7gypsies Halloween collection sized at 6 1/2 x 5", which I folded in the center.
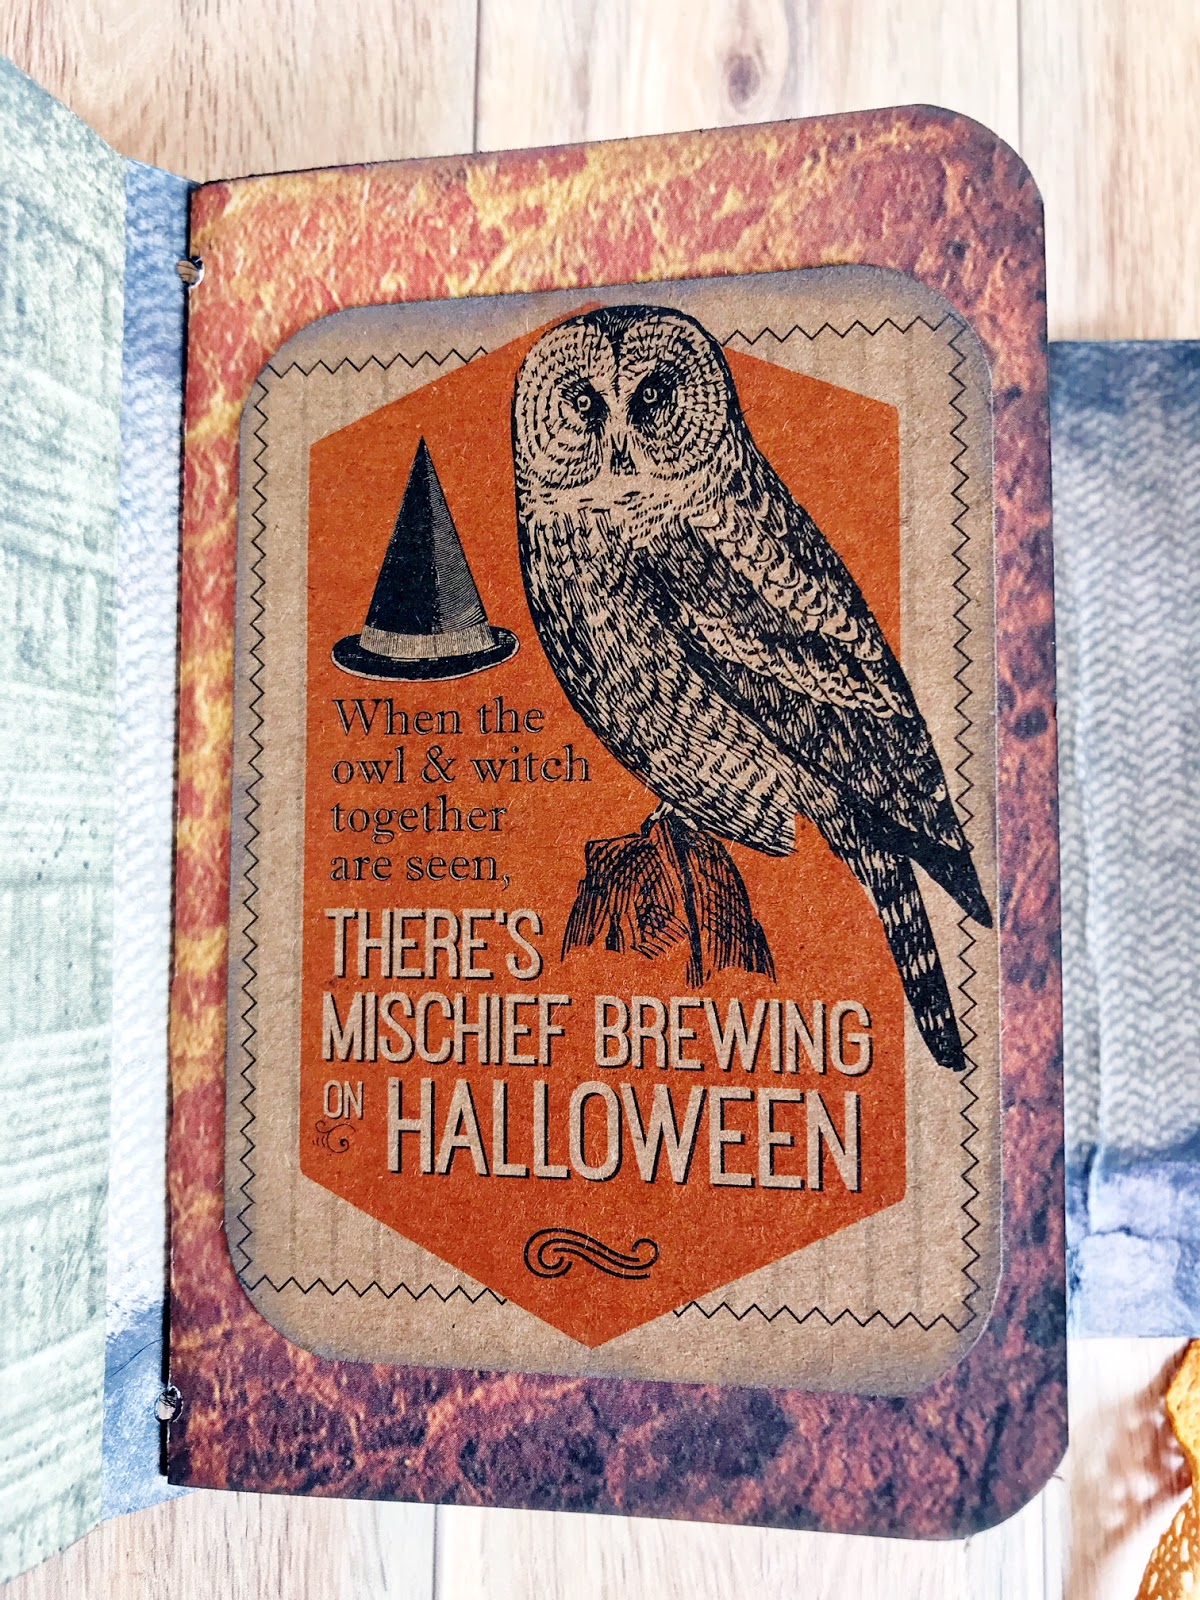
The Canvas Corp Halloween Tags on Kraft cut apart sheet was perfect to cut elements from to add to the notebooks and inside the journal.
I punched small holes with my Crop-o-dile to match up with the diecut holes in the journal and threaded a piece of hemp twine through the center of each signature and then the journal spine.
Some Ground Espresso Distress Oxide Ink added a shadow around the edges of my pages and I rounded the corners with the We R Memory Keepers corner punch at 1/2".
I used some more Tim Holtz cardstock to cover the inside base of the Wrap Journal, tearing a bit off the edges and adding more of Seth Apter's paint.
A few Tim Holtz' paper dolls and chit chat stickers are tucked in various places throughout the journal.
The spooky little outhouse was fun to add to the back of the journal along with a sticker from my Halloween stash.
To close the Wrap Journal I glued on two metal embellishments and added some ribbon coloured with Seth's paints. I really love the Autumn colours in this set!
I hope you enjoyed having a look at this journal - I really loved creating it!
Be sure to check out the process video where I show you how I create the cover of this journal and then do a walk through of all the fun elements I included!
Be sure to head over to the next stop on the hop - Jenny Marples to see her amazing project!!
Thanks so much for stopping by today!! I hope you find lots of inspiration and a few ideas for goodies on your wish list ;) Don't forget to leave a comment for a chance to win an amazing prize pack, and have a fabulous day friends!