Showing posts with label Scrapendipity. Show all posts

Monday, February 24, 2020

NEW Hummingbird Card Class in Calgary, Alberta!

Hello friends! I am soooo super excited to tell you about a class I'm teaching in Calgary, Alberta using the new Kraftin' Kimmie Happy Hummingbird Stamp Set and Chubby Clouds & Fabulous Feathers Stencils that will soon be available at Scrapendipity! This is going to be a fun class where you get to try some new and older techniques and come away with not only 3 beautiful cards, but lots of ideas for new things to try on your own!


We will be welcoming spring with three beautiful hummingbird cards using ALL NEW Kraftin’ Kimmie stamps and stencils! We will try out fun stencilling techniques, including the awesome Duo-gel with pretty foil, do some easy coloring, use our Distress Inks again, and brighten our day with these sunshiny cards! 

*Copics, Zig Markers & Pencils will all be available to use, but a list of Copic colours will be sent in case you want to bring your own! 

Date: Thursday March 19 from 6-8 pm

Cost: $28 for 3 cards (with envelopes that you can customize)

Location: 3400 14 St NW #208, Calgary,  Alberta

Call the Scrapendipity Store at 403-455-6772 to register


Thanks so much for stopping by! Be sure to call the Scrapendipity Store at 403-455-6772 to register!! I can't wait to see you and share some crafty fun!!


Tuesday, August 23, 2016

Scrappy Cat and My Local Scrapbook Store!

I am so lucky to have a scrapbook store, Scrapendipity, very close to me, and even luckier to know the wonderful ladies who are part of that store! I go there weekly for a make 'n take card and a visit as well as go to usually a class a month. Over the summer my girls have enjoyed going there as well and are always spoiled by everyone there!

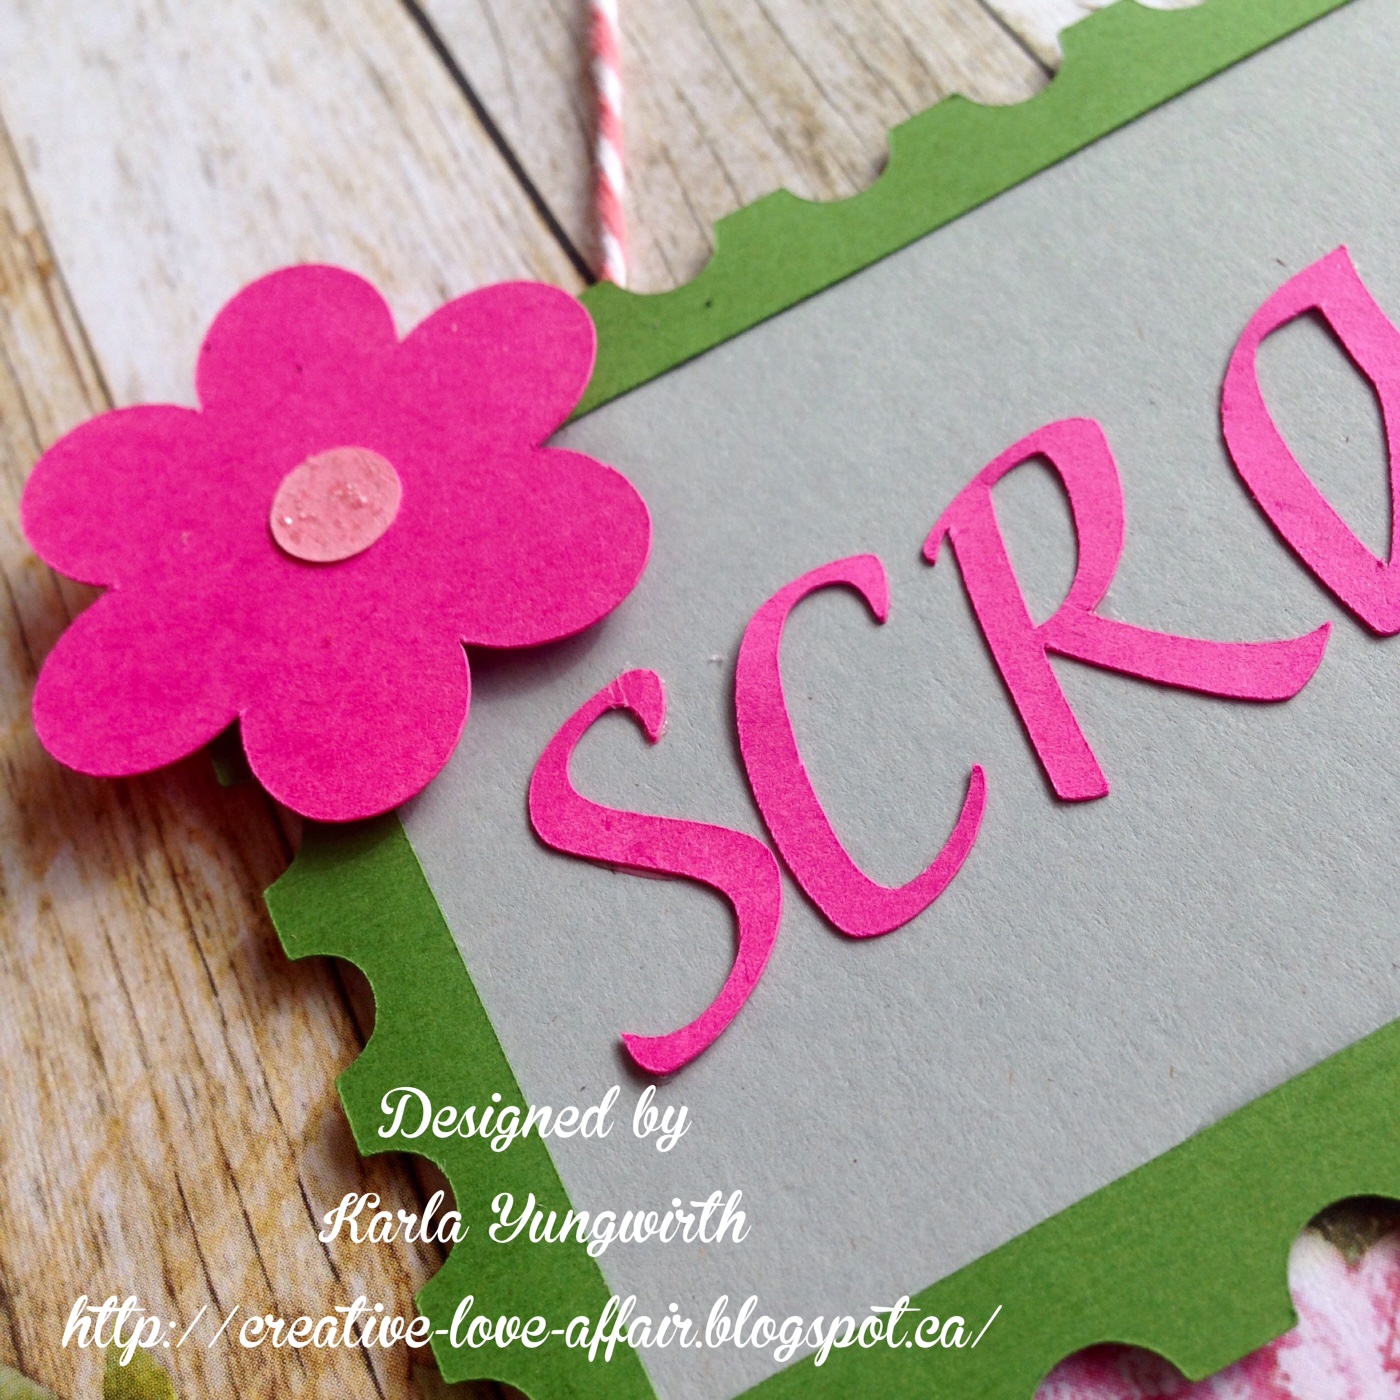
Back when we used to get together at the owner, Selena's, house, everyone used to get some snuggles in with her cats. Of course, once the store opened she couldn't bring her cats, but she did get a really cute stuffed cat that the girls, especially, love! Well, this cute, fuzzy kitty needed a name, and the girls thought Scrappy Cat would suit her (or him), so we promised to make Selena a cute sign. Amie helped design it and the girls both picked out the colours to match the signature store colours. 


We opened up Cricut Design Space and used the long frame from the Stamp Frame Cutting Files along with the Winter Cat - both from Pretty Paper Pretty Ribbons, along with one of the Signature Cricut Fonts and a Cricut Flower.

Even though this cute cat comes with a hat and scarf, you can choose to cut her without it! I love that you can do it separately. We used part of the scarf for the collar and duplicated the large flower, making it really tiny to fit on the collar. I used some Distress Ink around the edges before layering her together.


Here are the PPPR cut files we used:
Stamp Frame Cutting Files

 Winter Cat
Amie saw this Hello Kitty ribbon and thought it would make the perfect collar for Scrappy Cat. She added a pink flower with some Stickles in the center. 'Cause a cat's gotta have some bling!

The girls pose beside Scrappy Cat with the new sign decorating her bed.

Thanks so much for stopping by today! If you want to check out the Scrapendipity Online Store click here, and if you're anywhere near Calgary, Alberta, we'd all love it if you stopped by for a little shopping, a class, or just to say hi to Scrappy Cat! - 208 3400 14th St NW Northmount Plaza (facing Chelsea St) Calgary, Alberta.

Linked to:
PPPR Linky Party - AG using PPPR cut files
Simon Says Stamp Wednesday Challenge - Go For The Border (frame)


Tuesday, May 3, 2016

Carnival Birthday Card!

We have been having some lovely weather the past couple days! It was perfect for the Carnival themed birthday party my 9 year old went to over the weekend. I immediately grabbed the Carta Bella Summer Fun collection to make this card for her to take!


The cute food cart was a sticker on the sticker page, which I layered on a white circle and popped up on some red wood grain paper also cut into a circle. The Fabulous Friend stamp is from CTMH and looked fun in this pink ink that I also used in the ticket stub below.

I added sequins from the 28 Lilac Lane embellishment collection on the card and envelope. It's fun to add a few extra dimensional embellishments on a card that will be hand delivered! I found the ticket stub stamp on a Tim Holtz set and used some fun colours from the new Dylusions 4 pack coordinating archival ink pad. A few more CTMH stamps and a ticket sticker from the sticker sheet finished my card and envelope off!

Thanks so much for joining me today. I hope you'll dig into your scrapbook papers and sticker sheets and see what kind of cards you can create this week!

Linked to:


Tuesday, April 26, 2016

Be Original Art Foamies Tag!

Good morning! Hope you are all having a great week so far. Soccer started for my 4 year old Monday so it's been busy times getting all that ready, but I did manage to sneak in a quick tag to share with you all! A while ago I borrowed some pretty Art Foamies stamps from my friend, Laura, and I had so much fun creating some awesome backgrounds. If you've never heard of Art Foamies stamps before you can check out this video here. I stamped this pretty dragonfly onto a manilla tag and stuck it in my drawer until just the right time! Since I already had my background stamped, I decided to use my Distress Inks to sponge on a bit of colour and added some brown ink around the edges.


I used some blue and green Distress Inks to colour my seam binding ribbon before tying it onto my tag. A bit of Ground Espresso brown Distress Ink finished the edges of my chipboard flower sticker and coloured the ribbon along the bottom of the tag. That's one reason I love buying white trims and ribbon - I get to colour coordinate them with my project!

This 'be original' stamp is from the Crazy Talk stamp set that coordinates with the Crazy Birds stamps. I used an Archival black ink to stamp over my Distress Inked background. You can see a bit of the Crazing Collage Medium from Tim Holtz that I brushed over the tag to create a subtle texture. A few light green pearls finished off my project.

Thank you so much for stopping by today! Wishing you a wonderful week ahead!


Tuesday, April 12, 2016

Mini Gorjuss Girl Cards!

I just love the Gorjuss Girl stamps, so of course I was so excited to see the mini Gorjuss Girl stamps come out too! While we were away a week ago I brought along some stamps and Distress and Tombow Markers and had some fun watercolouring and paper piecing these images so that when I got home I could make up some cards.


This is one of my favourite stamps of these mini stamps! The little teddy bear is just so sweet :) I was fortunate enough to receive these pretty papers and embellishments in a recent Happy Mail swap, and they worked perfectly to put these cards together.


Thanks so much for stopping by today! If you are a Canadian shopper, be sure to check out the Scrapendipity Online Store - and if you're in Calgary be sure to head over to the NEW Scrapendipity store Selena just opened!! You can find out all the details on the Scrapendipity Way Of Life blog. Wishing you a wonderful, crafty week!


Tuesday, April 5, 2016

Making Art With Distress Crayons and Prima Watercolor Coloring Book!

I am so happy to share this project with you today! I fell in love with the Prima Watercolor Pad that came out at CHA and decided to use my new Distress Crayons with it - and I'm so pleased with the results!


The Prima pad is full of gorgeous 8x10 watercolour colouring pages - just waiting for you to use whatever watercolouring medium you choose! I simply had to try out my Distress Crayons by drawing directly on the colouring page


The Crayons glide on beautifully and then I simply used my waterbrush to blend the colour in, mixing some of the crayons together.


 After I finished watercolouring in the page I smooshed Distress Inks on my craft mat, spritzed with water, and used a clear piece of packaging to pick up the inky colour before 'smooshing' it onto my page. The Distress Crayons actually RESIST the ink - Love this effect!


I picked up a dollar store frame and decorated it with flowers, sequins, pearls, charms and buttons from the 28 Lilac Lane collections and ribbon! It will be easy to replace this page with another whenever I want to!


Here's a close up of the lovely colour these Distress Crayons achieve!

More lovely embellishments to decorate my frame! 

This worked perfectly to replace the Easter decorations I had on my hutch. I'm just so happy with the results!


Thank you so much for stopping by today! Don't forget to stop by the Scrapendipity Online Store for some Canadian shopping, and the Buttons Galore and More shop to check out the lovely embellishments from 28 Lilac Lane. Have an awesome, happy, crafty week!

Linked to:
Little Scrap Pieces - Show It Off Saturday
Simon Says Monday Challenge - Try To Resist (the Distress Crayons resist the smooshed ink!)
Simon Says Wednesday Challenge - AG
DL Art - Thankful Thursday Challenge #177 AG
Little Red Wagon - For The Love Of Water
Pink & Main - Challenge #8 Color Challenge


Tuesday, March 22, 2016

Distress Crayon Resist Card!

I am so loving my Distress Crayons! Here's a look at a card I made to share on the Scrapendipity Way Of Life blog today.

I used the white Distress Crayon and a circle stencil as a resist on this card. After stenciling on my white card base I sponged on Distress Inks and then used some Tim Holtz stamps to stamp over top. I love the way the Crayons resist the inks!

I used my Inks again to colour my seam binding ribbon (Selena can order this in for you!) so it blended perfectly with my card. A little paper flower in coordinating colours and a couple heart sequins finishes it off.

Thanks so much for stopping by today! I hope you have a wonderful, warm spring week.


Tuesday, March 8, 2016

Orange Soda Pop Card!

I'm posting over at the Scrapendipity Way Of Life blog today and wanted to share this quick soda pop card with you all!

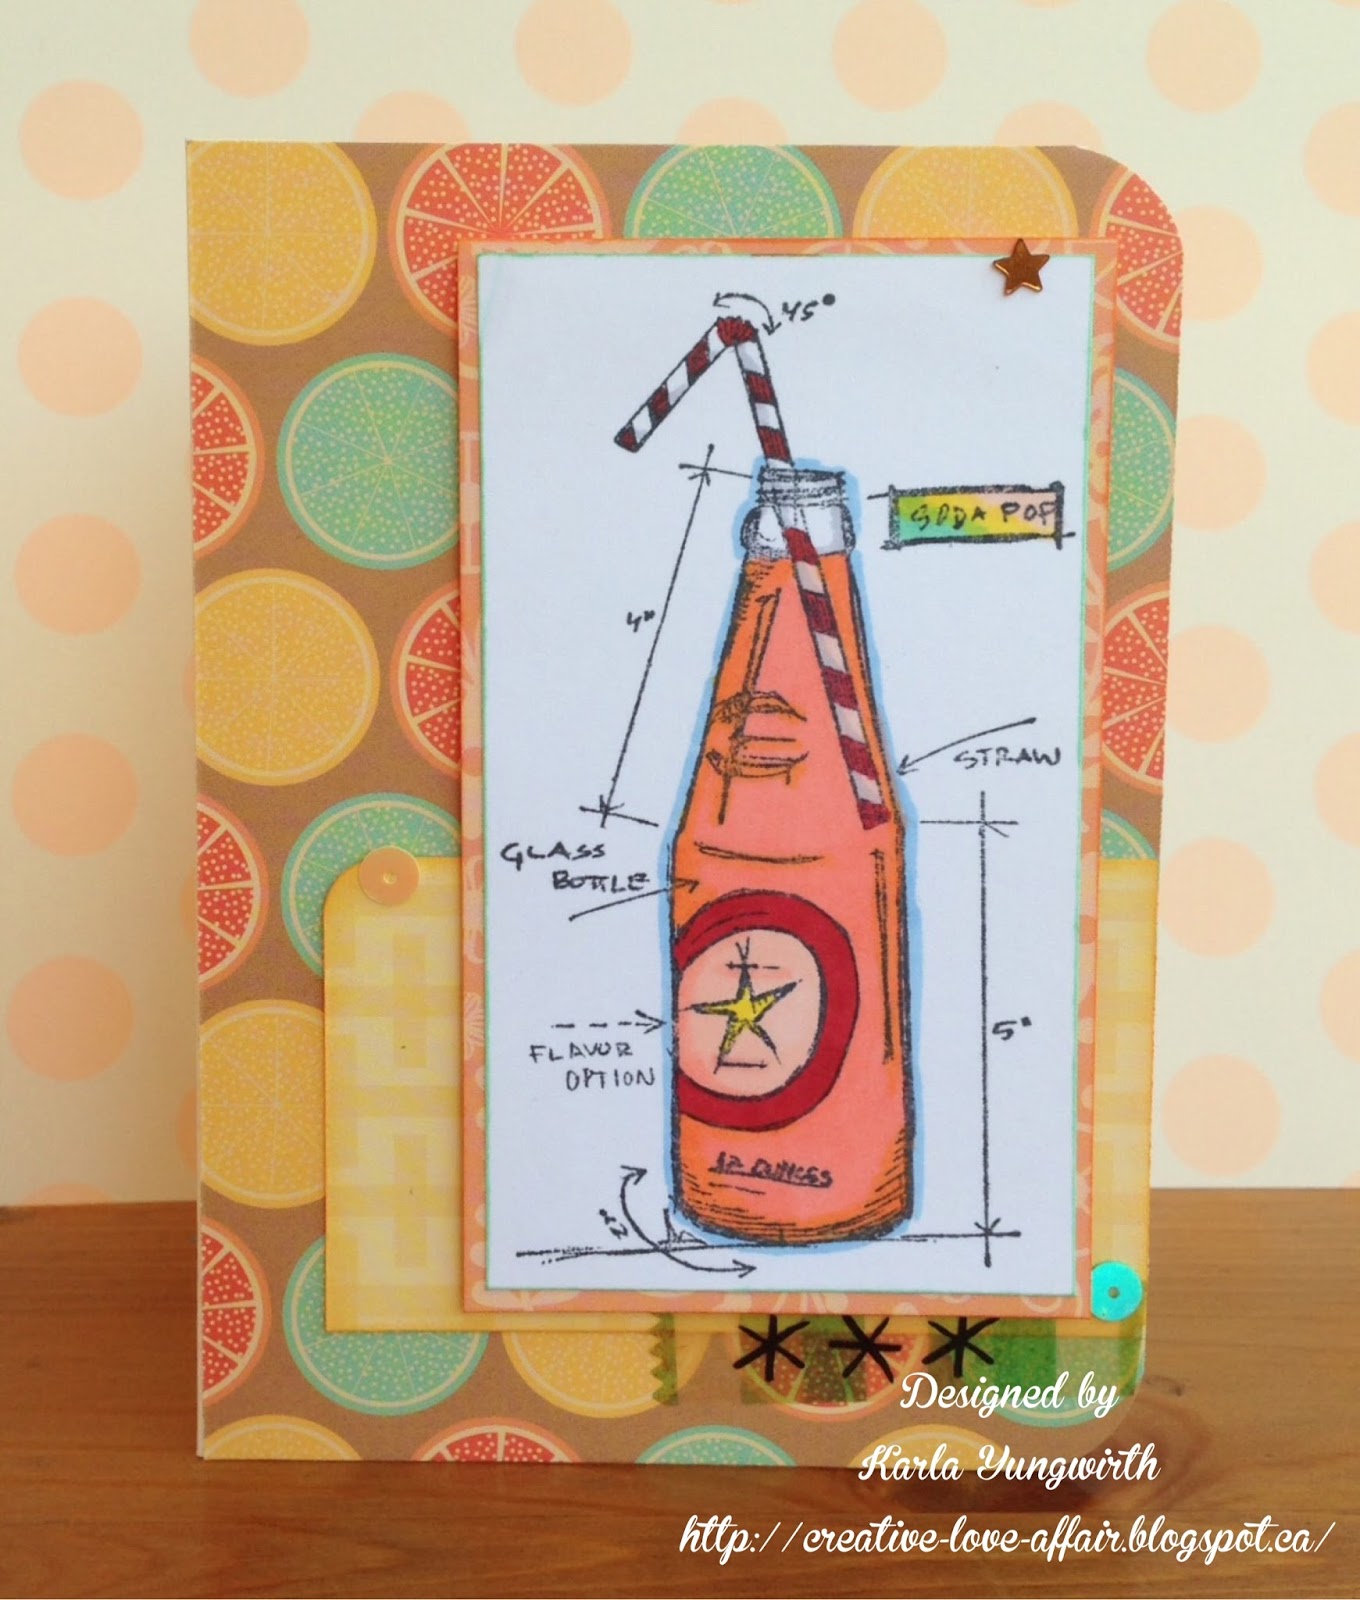
I recently found some fun background paper from Craftsmith at Michaels, which made me think of orange pop. Perfect for this soda pop Tim Holtz image that I layered on more paper from the same collection. I added some sequins for shine and a piece of washi tape. Rounding two corners finishes off this summery card.


I used some Prismacolor Markers to colour in my image and added a light blue outline around the pop bottle for a bit of shadow. 

Thanks so much for joining me today! I hope you have a lovely, crafty week! 


Tuesday, February 16, 2016

The Wonder Years Scrapbook Layout

Hi there friends! I'm posting over at the Scrapendipity Way Of Life blog today and wanted to share a layout I made using some new and old supplies. I recently picked up some My Minds Eye Jubilee papers and coordinating stickers and thought they'd be perfect to use on this layout with photos from our summer 2013 camping trip.

Over at the Victoria Marie Facebook page there is a weekend challenge to follow a sketch (shown below) and incorporate pink, red or purple. Even though my page isn't Valentines themed I added hearts, reds and pinks.  As well, Shimelle's challenge this week is to mix your old scrapbooking stash with your new favourites. This Jubilee collection is definitely my new favourite! When I looked at the sketch, the triangles reminded me of the Heidi Swapp stencil I have had in my stash for a while and I pulled out some Texture Paste to go along with it. I love being able to use my mixed media supplies I have had for awhile and mix them with my paper supplies on my layouts.


Another oldie supply in my stash was this striped CTMH paper that I'm trying to use up! The stripes made a perfect lined journaling card I formed into a tag and tucked behind my photo. I used my 123 We R Memory Keepers Punch Board to create the file folder tab at the top and stamped it with a SMASH date stamp that's been in my stash for quite some time too!

I love this fun flair badge!

The Wonder Years title was part of a chipboard sticker page that coordinates with the papers and I found a little chipboard bike to add to my page.

Here's a look at the sketch, which you can find on Pinterest:

Thanks so much for stopping by today! We had a lovely long weekend and I spent yesterday doing lots of scrapbooking! You'll be seeing those pages this week and we have a fun new release at Pretty Cute Stamps coming this week too - so be sure to check back!

Along with the sites linked above, I've linked to:
DL Art - Thankful Thursday February Linky Challenge