Showing posts with label dylusions paints. Show all posts

Thursday, August 1, 2019

Under The Sea Summer Layout!

Hello! We went camping a couple weeks ago and even though the water was a bit chilly, the girls wanted to get in with their floaties. I think they may have spent more time laying on the beach than getting in the water though! I'm over on the Southern Ridge Trading Company Blog today with this layout using photos from our trip, and I love how the Southern Ridge Mermaid Mix Chipboard Set and Fish Net Stencil fit right in with this theme! My daughter, Amie, who is 12, helped me create this layout. I love how crafty she is!


You can see the process Amie & I used to create this layout here in this video.


Supplies:
Dylusions Ink Sprays and Paints
Project Life App to print photos and journaling
Tattered Angels Chalk Mist
Dies from Lawn Fawn and Kaisercraft

Thanks so much for stopping by! Be sure to head over to the Southern Ridge Trading Company Blog to see closeups and all the details. Have a fantastic, crafty week!

Linked to:
SSS Monday Challenge - Bright & Cheerful


Sunday, January 15, 2017

Sydney's Superhero Frame!

Hi there!! I feel like last week just flew by, and I didn't get to share as many projects with you as I would have liked to... but I have been working on some fun new projects that I'll be sharing with you over the next couple weeks.

I can't wait to tell you about this frame that I made for my niece Sydney at Christmas! You may remember some great photos and layouts I shared from last spring when I threw a Superhero birthday for her. You can check out some pocket pages here as well as some pics from her party here. Well, since she loves Superheroes, I decided to give her a framed photo from that day - using this 'Super' cool scrapbook paper ;).

I started off painting a wooden frame from Michaels with red Dylusions paint on the back and around the front edges.

Then Erica helped me add Mod Podge to the front of the frame with a paintbrush. You can see we're watching crafty YouTube videos!

 Then we added the scrapbook paper, cut to size, onto the wood frame. I had a left over diecut from her party in my stash and I fussy cut some of the paper and added it on top.

On the back, I covered the paper insert with part of the scrapbook paper and added a little note.

I just love how it turned out, and Sydney loved it too!

Some sequins from SpiegelMom Scraps added that last touch of bling.


Thanks so much for stopping by today! I hope your week is shaping up to be fantastic. I'd love for you to check out my newest video using some fantastic Canvas Corp Brand products - a Street Art Valentine Process Video!!

You can follow me on social media at these links here:

Linked to:
DL Art - January Linky Challenge
Little Scrap Pieces - Show It Off Saturday
Crafty Hazelnuts Patterned Paper - January Challenge


Tuesday, January 26, 2016

Happy New Year Art Journal Tutorial!

Hi there friends! I was recently making an art journal page, inspired by the amazing and talented Vicky Papaioannou's New Year Art Journal video, and thought I'd make a little tutorial. Sometimes when you look at a mixed media piece it's hard to pull apart the layers and see where to start. It's really not that hard and following these steps you can create your own piece - either in an art journal, on a canvas, or even on a tag.

Here's a look at my art journal page in my Dylusions Art Journal:

And here are some step by step directions to get you started:

I used a  white gel pen to write down my goals around the page. This beautiful script stamp, sequins and stars are from the Believe Script stamp set by Pink and Main.


Thanks so much for stopping by today! Have you set any goals for 2016? I hope this inspires you to get out some paints and inks and have fun playing!

Linked to:
Pink & Main Challenges - #5 Sparkle
Craft Stamper Magazine - January Challenge AG with a stamp
Word Art Wednesday - AG
Use Your Stuff  - Sequins or Glitter (stamped sequins!) 
DL Art - Thankful Thursday January Linky Challenge


Tuesday, September 15, 2015

Mermaid Art Journal Tutorial!

I'm posting today at the Scrapendipity Way Of Life blog and I'm sharing this lovely art journal page I made using lots of mixed media supplies and the Julie Nutting Mermaid doll stamp by Prima!


Here's a little tutorial showing you how I made it-

I started off with my Dylusions Journal and used Distress Stain to rub colour across my pages. I had previously rubbed off some stencils on these pages and you can see some colours underneath.

I then used Dylusions yellow paint over a Tim Holtz sunray stencil to create my sunrise and spritzed the pages with Perfect Pearls mist to add shimmer and blend the colours slightly.

I used more Dylusions paints and stencils to create a background. I sponged the blue paints through the TH flourish stencil and then used the circle stencil to add white circles. I used bubble stamps and the purple paint to stamp on bubbles, which you'll be able to see below.


 Here's Erica working with some purple paint and stamping those fun bubbles!

I paper pieced and coloured my stamped images (I used the BoBunny Boardwalk paper for my mermaid) and then Mod Podged them onto my paper. 

I added some stamps on top of my journal and then used the Dylusions Ink Sprays to paint in my leaves. I love using the sprays this way! I wanted to distress the cute sea creature stamps a bit so I stamped a Dylusions background stamp over top using Vintage Photo Distress Ink.

You can see how the Dylusions purple paint bubbles resists the spray that I painted onto the leaves and it seems to blend into the background! I absolutely love this 4x6 journaling card from the Laughing Lola Picture My Life cards by CTMH. I love the cards included in these collections - there are so many things you can use them for!


Lastly, I added some Distress Markers to the stamped images and then used Glossy Accents and Stickles around my page. You can see how the butterflies really pop after adding the Glossy Accents! I traced around my Mod Podged images with a brown Distress Marker and used a waterbrush to lightly blend the marker around each image.


I just love how these pages turned out! I love all the layers and the way each medium works together. This mermaid doll is one of my favourites! 


Thanks so much for joining me today! I hope you have a lovely week! Be sure to check back this week - there is lots going on with the Pretty Cute Stamps September Release as well as a fun Birthday Bash Mini Crop on Saturday!!

Linked to:
Simon Says Stamp Wednesday Challenge - use a stamp
Simon Says Stamp Monday Challenge - love this technique (layering different mediums & using Dylusions sprays to paint with)


Tuesday, July 7, 2015

Dylusions Background Owl Card!

I`m back today for a post for the Scrapendipity blog featuring an owl card using the owl from Small Stamps by Hot Off The Press as well as Dylusions Paints to create a watercolour background and a stamped zig zag with Distress Inks. 

I wet my watercolour paper and put some Dylusions Paints in greens and blues on my craft mat.  Then, I simply added colour and water where I wanted it. I added a few splatter dots with my paintbrush as well as sound shiny round sequins!


This little owl is so cute! I stamped him on a handcut tag with brown Archival Ink and watercoloured him in with Distress and Tombow markers. After, I added Glossy Accents to his eyes and Stickles to his belly and to the little hearts that came with the set. I used a green eyelet for the top of the tag and some blue and white bakers twine and then popped up the tag with foam dots.


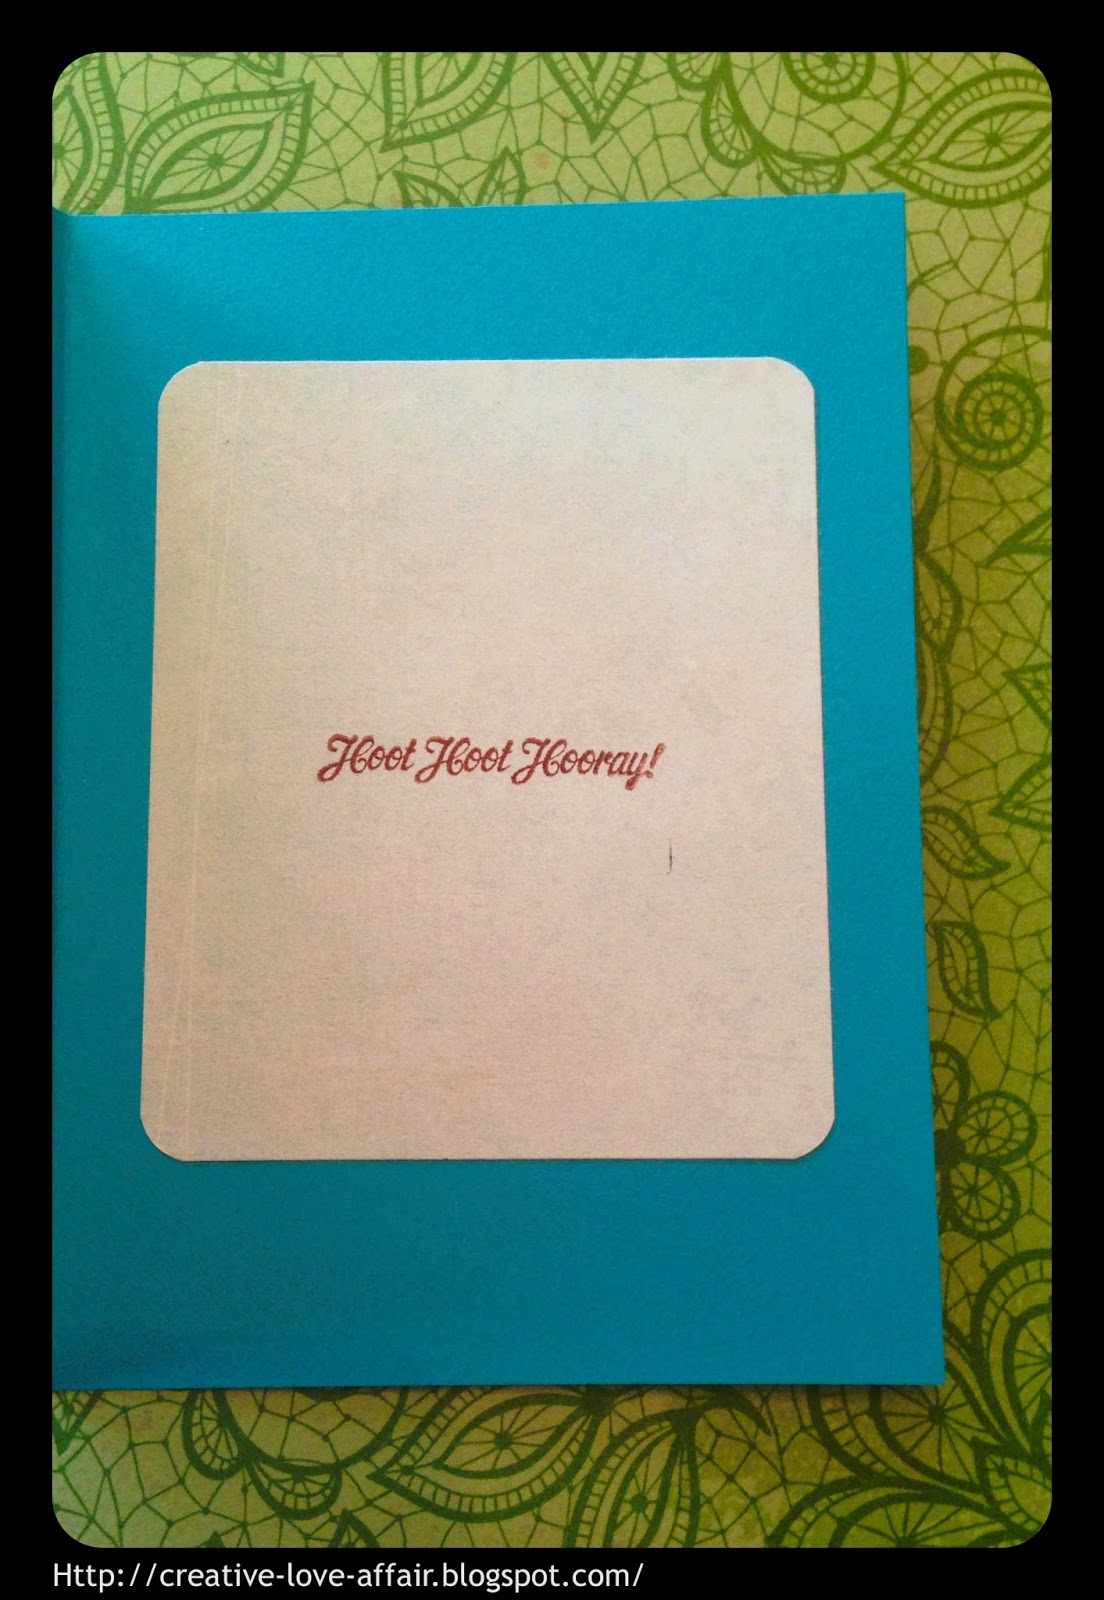
Inside, I used the sentiment included with the set and stamped it on a piece of white cardstock after rounding the corners.


Thanks so much for joining me today! I hope you're all enjoying some beautiful warm weather! Have a happy, crafty week! 

Linked to:
Simon Says Wednesday Challenge - Spots & Dots
Little Scrap Pieces - Show It Off Saturday
Crafting From The Heart - AG #67
Jo's Scrap Shack - #95 AG


Tuesday, June 2, 2015

Enjoy Today Art Journal!

I am super pumped that I finally got to try out the creamy, dreamy Dylusions Paints! If you haven't yet and are interested in them, let me tell you - you are going to love them! I gathered a bunch of supplies I was thinking of using and just decided to plunge in and see where it took me. I wanted to just play around with them, so what better place to do that than the Dylusions Art Journal!


 First I started off by painting the left page white and the right black. Then I used the two blues to sponge over a Heidi Swapp Enjoy stencil and some Distress Paints to sponge over a Tim Holtz stencil on the white page. On the left I used both blue Dylusions paints and some Cracked Pistachio to sponge over a scrolly Tim Holtz stencil. I think this was my fav colour combo - and the black behind it looks awesome! I used some Abandoned Coral and some yellow Distress Paint over the Today Heidi Swapp stencil.


This is the first page completed - I added some background stamps, Ranger Texture Paste through a Dylusions stencil, and some of the beautiful ribbon I received from Karen over at Little Scrap Pieces!  I love these Dylusions fashion stamps and I thought they'd go perfectly on these pages. I paper pieced them with some papers from my stash and glued them onto my pages. A Dylusions sentiment stamp and a Heidi Swapp shiny silver sticker finished it off!


On my second page I added some stamped images using Memento Lux Wedding Dress white ink - I absolutely love how this stamps so beautifully on the black background! To give my paper piecing shading and definition I added some Distress Markers around the edges.


Here's a look at both pages open in my journal -

Thanks so much for joining me today! I hope you're inspired to try out something new - maybe these fun paints or a stencil, or maybe just to get some fun goodies out of your stash and see where it takes you!

Linked to:
Little Scrap Pieces - show it off Saturday